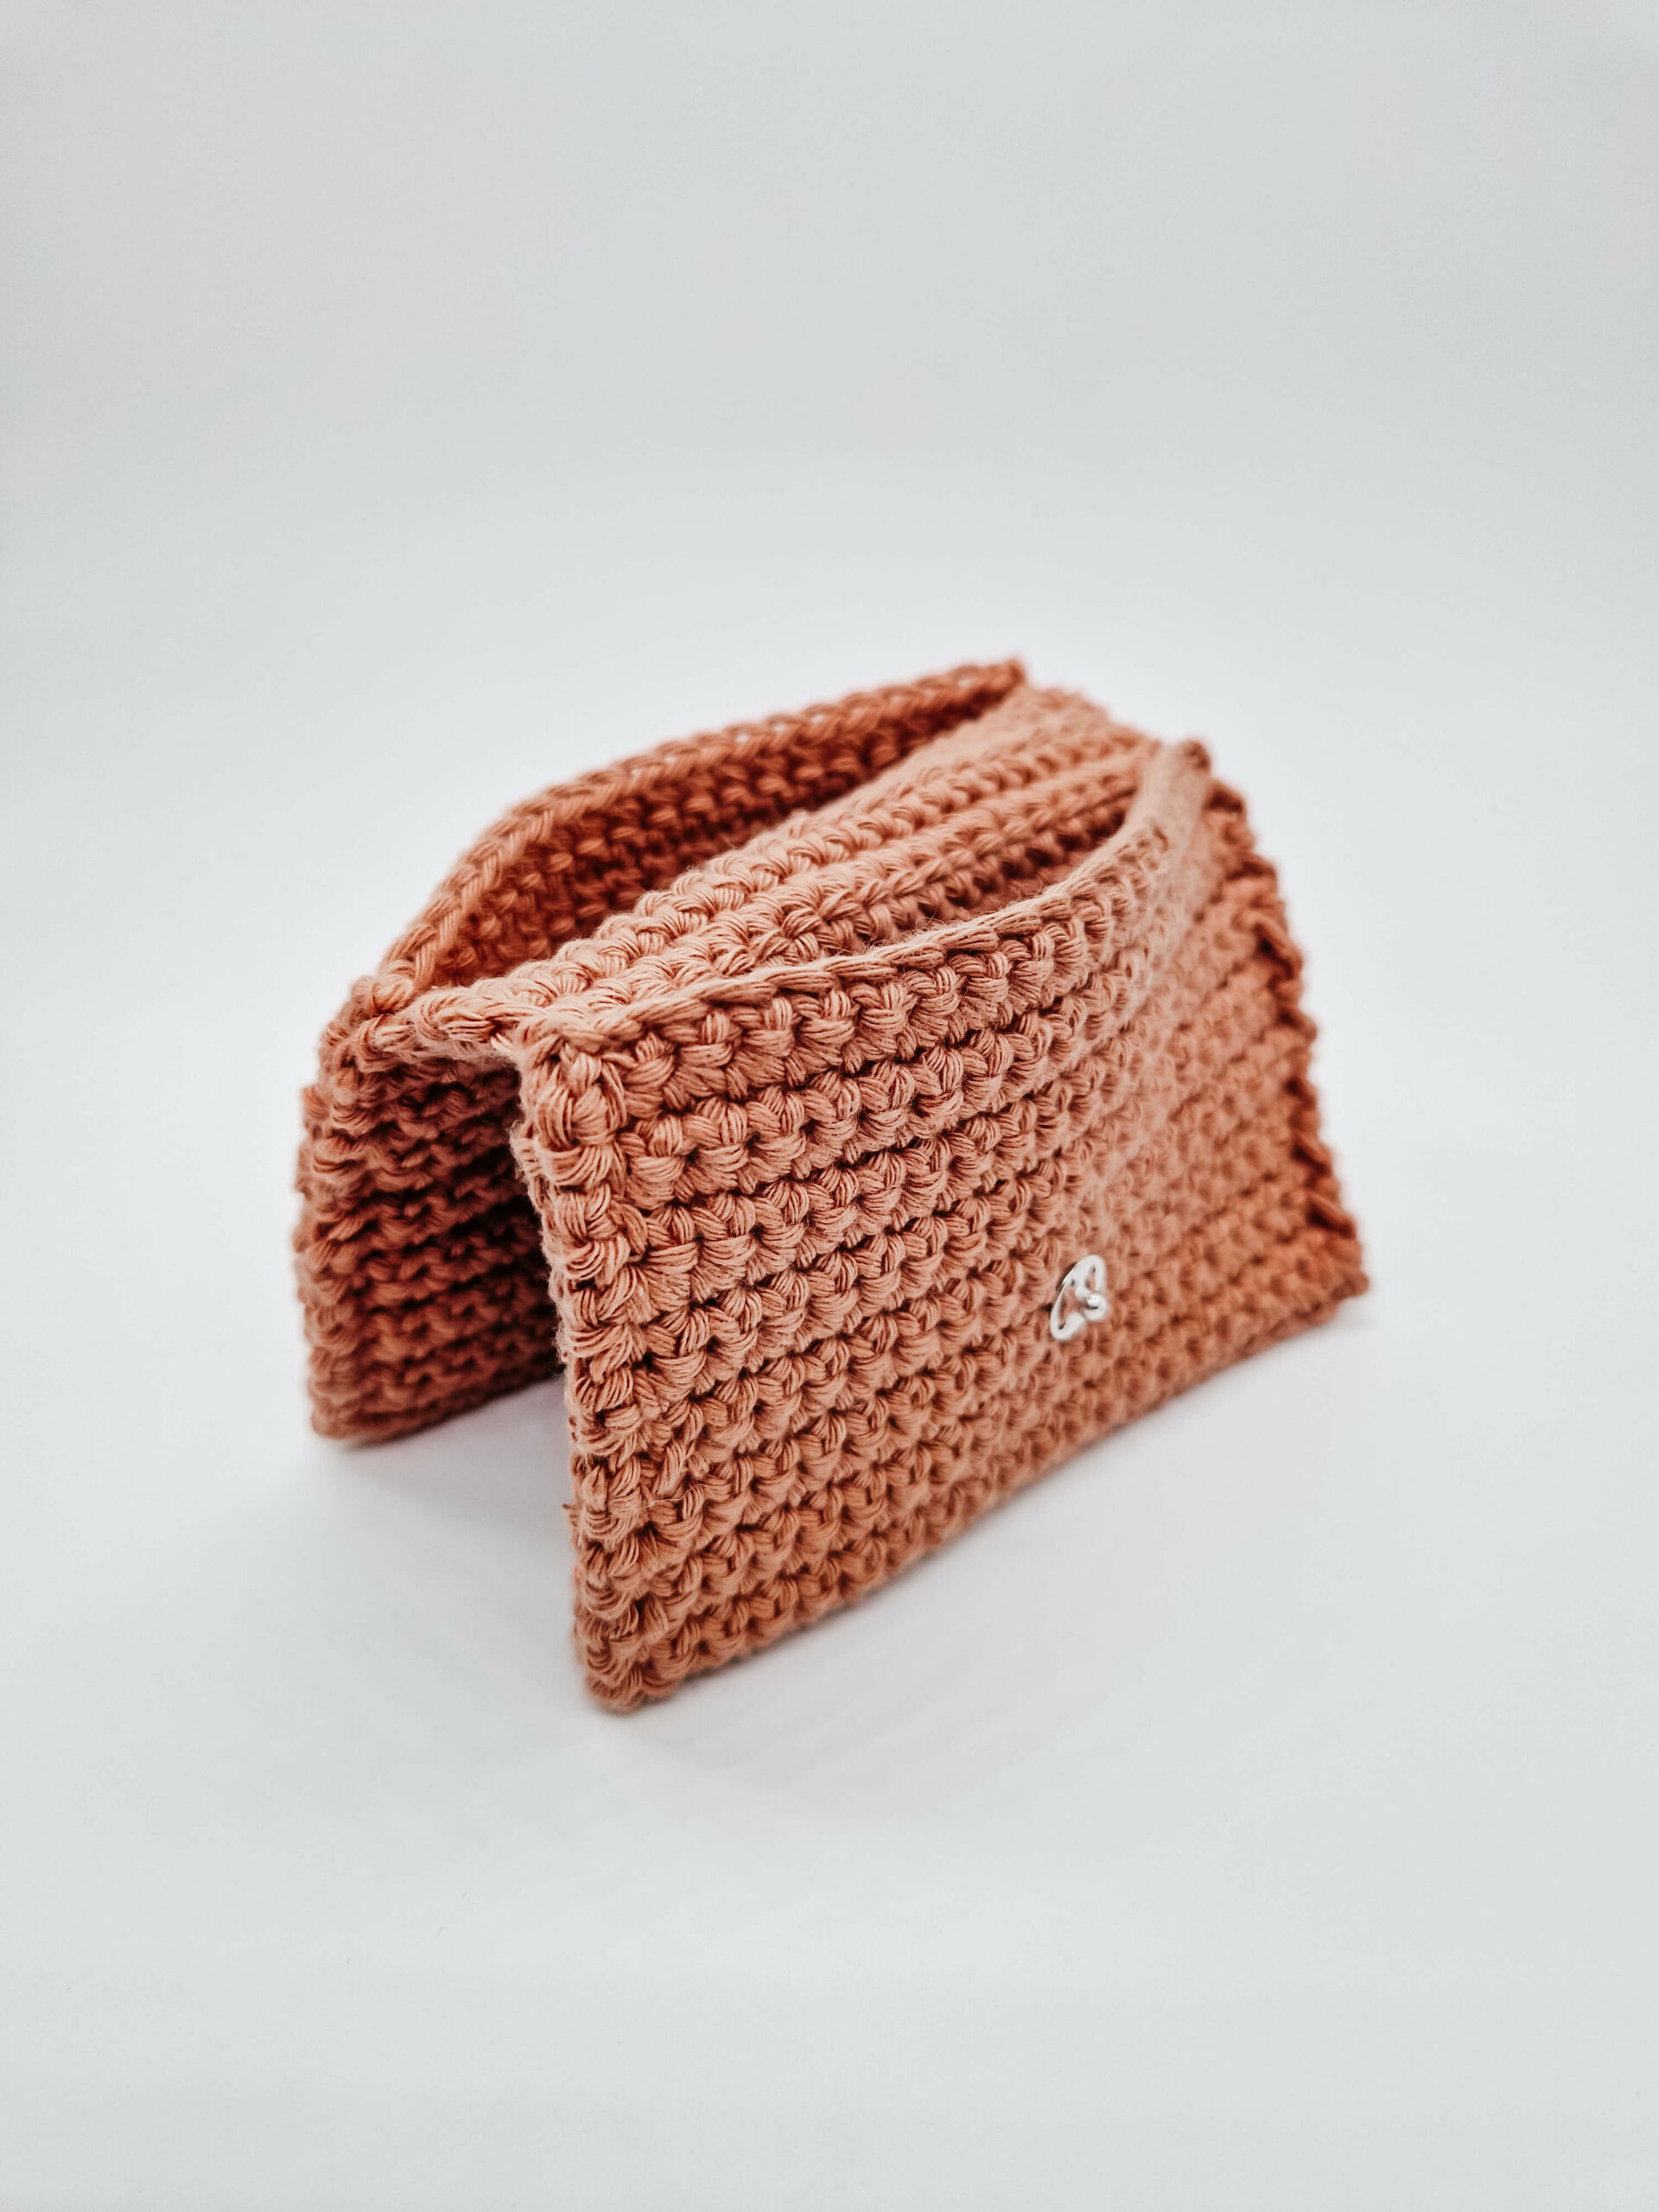
Hello fellow crochet enthusiasts! Today, I’m thrilled to introduce you to a beginner-friendly project that’s not only functional but also a chic accessory to add to your collection: the Single Crochet Wallet. This petite gem, measuring a compact 12 cm in width and 9 cm in height, boasts two handy pockets and a secure metal button closure. The best part? You can easily customize its size to fit your needs!


A Deep Dive into the Single Crochet Stitch
Before we dive into the tutorial, let’s talk about the star of the show: the single crochet stitch. It’s one of the most fundamental stitches in the crochet world, forming a tight, dense fabric. Perfect for projects like our wallet where sturdiness is key. The single crochet stitch is not just versatile but also simple enough for beginners to grasp quickly.
Mastering the Single Crochet Stitch: Step-by-Step
- Start with a Slip Knot
- Creating the Foundation Chain: Yarn over and pull through the loop on your hook. This creates one chain stitch. Repeat until you have the desired number of chains.
- Beginning the Single Crochet: Insert your hook into the second chain from your hook. Yarn over and pull up a loop. You should now have two loops on your hook.
- Completing the Stitch: Yarn over again and pull through both loops on your hook. Voila! You’ve made a single crochet.
Crafting Your Single Crochet Wallet
Materials:
- Any yarn (I opted for worsted weight yarn for a sturdy finish)
- A crochet hook slightly smaller than recommended for your yarn (to achieve a tight fabric)
- Measuring tape
- Yarn needle
- Scissors
- Metal snap button (a magnetic snap button can be a chic alternative)
Instructions:
- Start by chaining 21 stitches. (Adjust the number if you’re aiming for a different size.)
- For Row 1, work a single crochet into the 2nd chain from your hook (using the back bump) and continue across. You should end up with 20 single crochets.
- For Row 2, chain 1 and turn your work. Single crochet into the first stitch and continue across, maintaining 20 single crochets.
- Repeat Row 2 until your rectangle reaches your desired length. For my design, I aimed for a 36 cm length.
- Once your rectangle is ready, fold it on both ends to form two pockets. Sew along the sides of the folds to secure them.
- Attach your chosen button for closure, weave in any loose ends, and voila! Your wallet is ready.
Dive into this project and craft a wallet that’s uniquely yours.
Happy crocheting!


0 Comments