


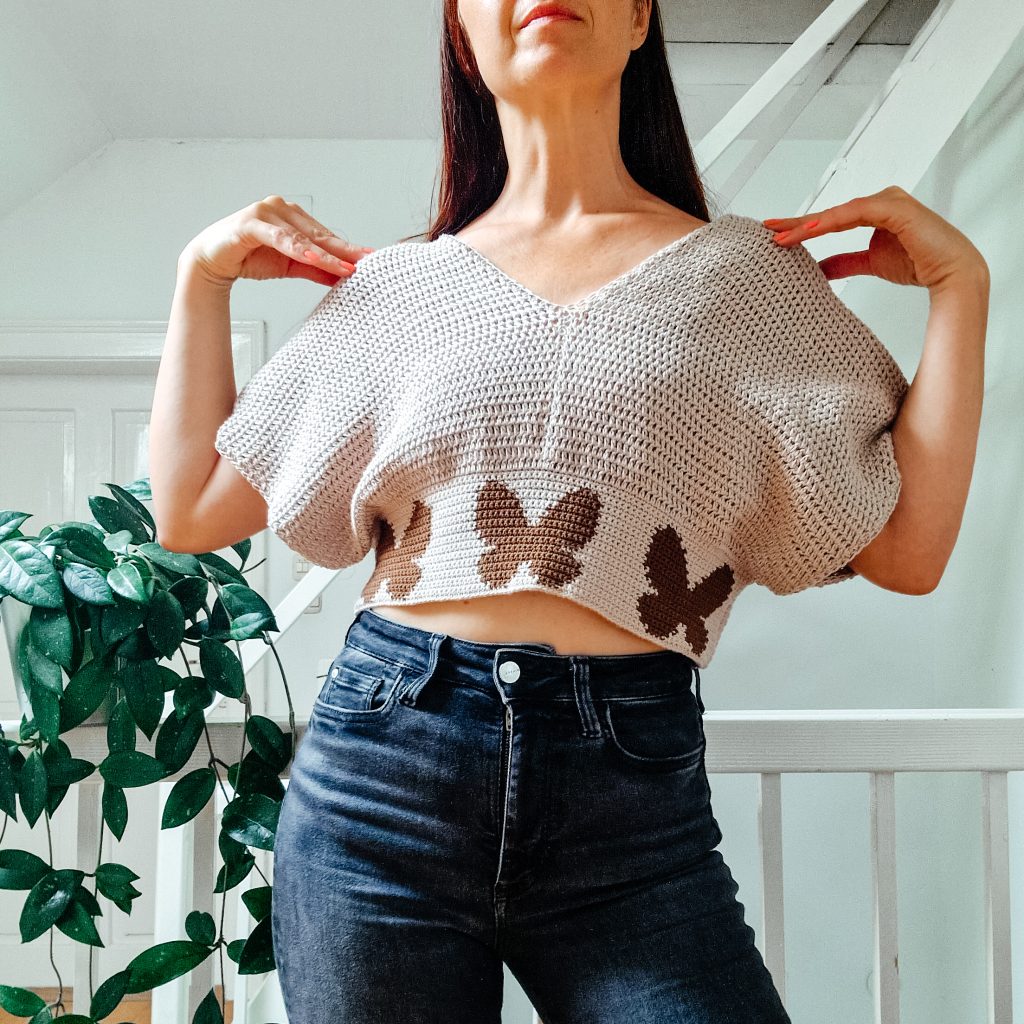
🦋 The Butterfly Top is a soft and sculptural crochet crop with a fluttery sleeve and a bold waistband motif worked in intarsia. It’s a lightweight, easy-level project with a big visual payoff—perfect for spring and summer layering.
I designed this one because I simply wanted butterflies. Not just a stitch or a motif, but a whole line of them—right across the waist. I love how their shapes stand out against the body of the top, almost like little talismans. It’s an expressive but wearable piece, and the construction makes it feel modern and airy: two mirrored panels joined at the waistband, with deep V-neck lines in both front and back.
Crocheters who’ve never tried intarsia will find this is a very friendly intro. The video tutorial walks you through everything step-by-step.


Where to Purchase
Watch the Tutorial
Pattern Details
Difficulty
Easy
Materials
Yarn
A: DROPS LOVES YOU 7, 8/4 classic cotton, Yarn group A (sport weight), color 03 (beige);
180 (200, 250, 250, 300, 350) g / 612 (680, 850, 850, 1020, 1190) m
= 6.3 (7.1, 8.8, 8.8, 10.6, 12.3) oz / 669 (744, 930, 930, 1115, 1302) yd
B: DROPS LOVES YOU 7, 8/4 classic cotton, Yarn group A (sport weight), color 49 (coffee);
80 (80, 110, 110, 140, 140) g / 272 (272, 374, 374, 476, 476) m
= 2.8 (2.8, 3.9, 3.9, 4.9, 4.9) oz / 297 (297, 409, 409, 521, 521) yd
other
2.5 and 4 mm hook


Finished Measurements (cm)
XS (S, M, L, XL, 2XL)
Bust Circumference
113 (123, 133, 143, 155, 165) cm / 44.5 (48.4, 52.4, 56.3, 61.0, 65.0) in
Waist Circumference
78 (85, 92, 99, 108, 115) cm / 30.7 (33.5, 36.2, 39.0, 42.5, 45.3) in
Length
38 (39, 40, 40, 41, 42) cm / 15.0 (15.4, 15.7, 15.7, 16.1, 16.5) in
The pattern includes instructions for customizing the length.
Gauge
23 sc x 27 rows = 10 x 10 cm (waist, 2.5 mm hook)
16 whdc x 12.5 = 10 x 10 cm (body, 4 mm hook)
Stitch Key (US terminology)
ch/s = chain/s
sc = single crochet
whdc = wide half double crochet
RS = right side
WS = wrong side
slst = slip stitch
st/s = stitch/es


Notes
Each size has a link to the “Progress Tracker” for the waistband for easy to follow instructions.
This pattern includes a full video tutorial designed to clarify any techniques or steps that are better demonstrated visually than explained in writing.
You’ll start by crocheting two separate waistbands. Then, working directly onto the front waistband, you’ll build the left and right body panels and attach them to the back waistband. After that, seam the sides of the waistbands to form the body. To finish, work one round of half double crochet around the neckline and armholes for a clean edge.
The pattern includes instructions for customizing both the length of the top and the depth of the neckline.
This pattern uses intarsia crochet for the waistband. Intarsia crochet involves using separate yarn bobbins or small balls for each color block, ensuring that yarn is not carried across the back of the work. Follow the color chart carefully and manage yarn changes neatly to maintain a clean finish.
On the waistband you will be working with sc: when instructions say “(B) x 7” it means 1 sc in the next 7 sts with yarn B.
At the beginning of each row on the waistband ch 1 and turn.
Find your next make
Explore more patterns at Loops Only – Patterns & Tutorials or sign up for the Loops Only newsletter to hear when new designs drop. 💌
0 Comments