A Functional Accessory for Every Hairstyle
Hello, lovely crafters!
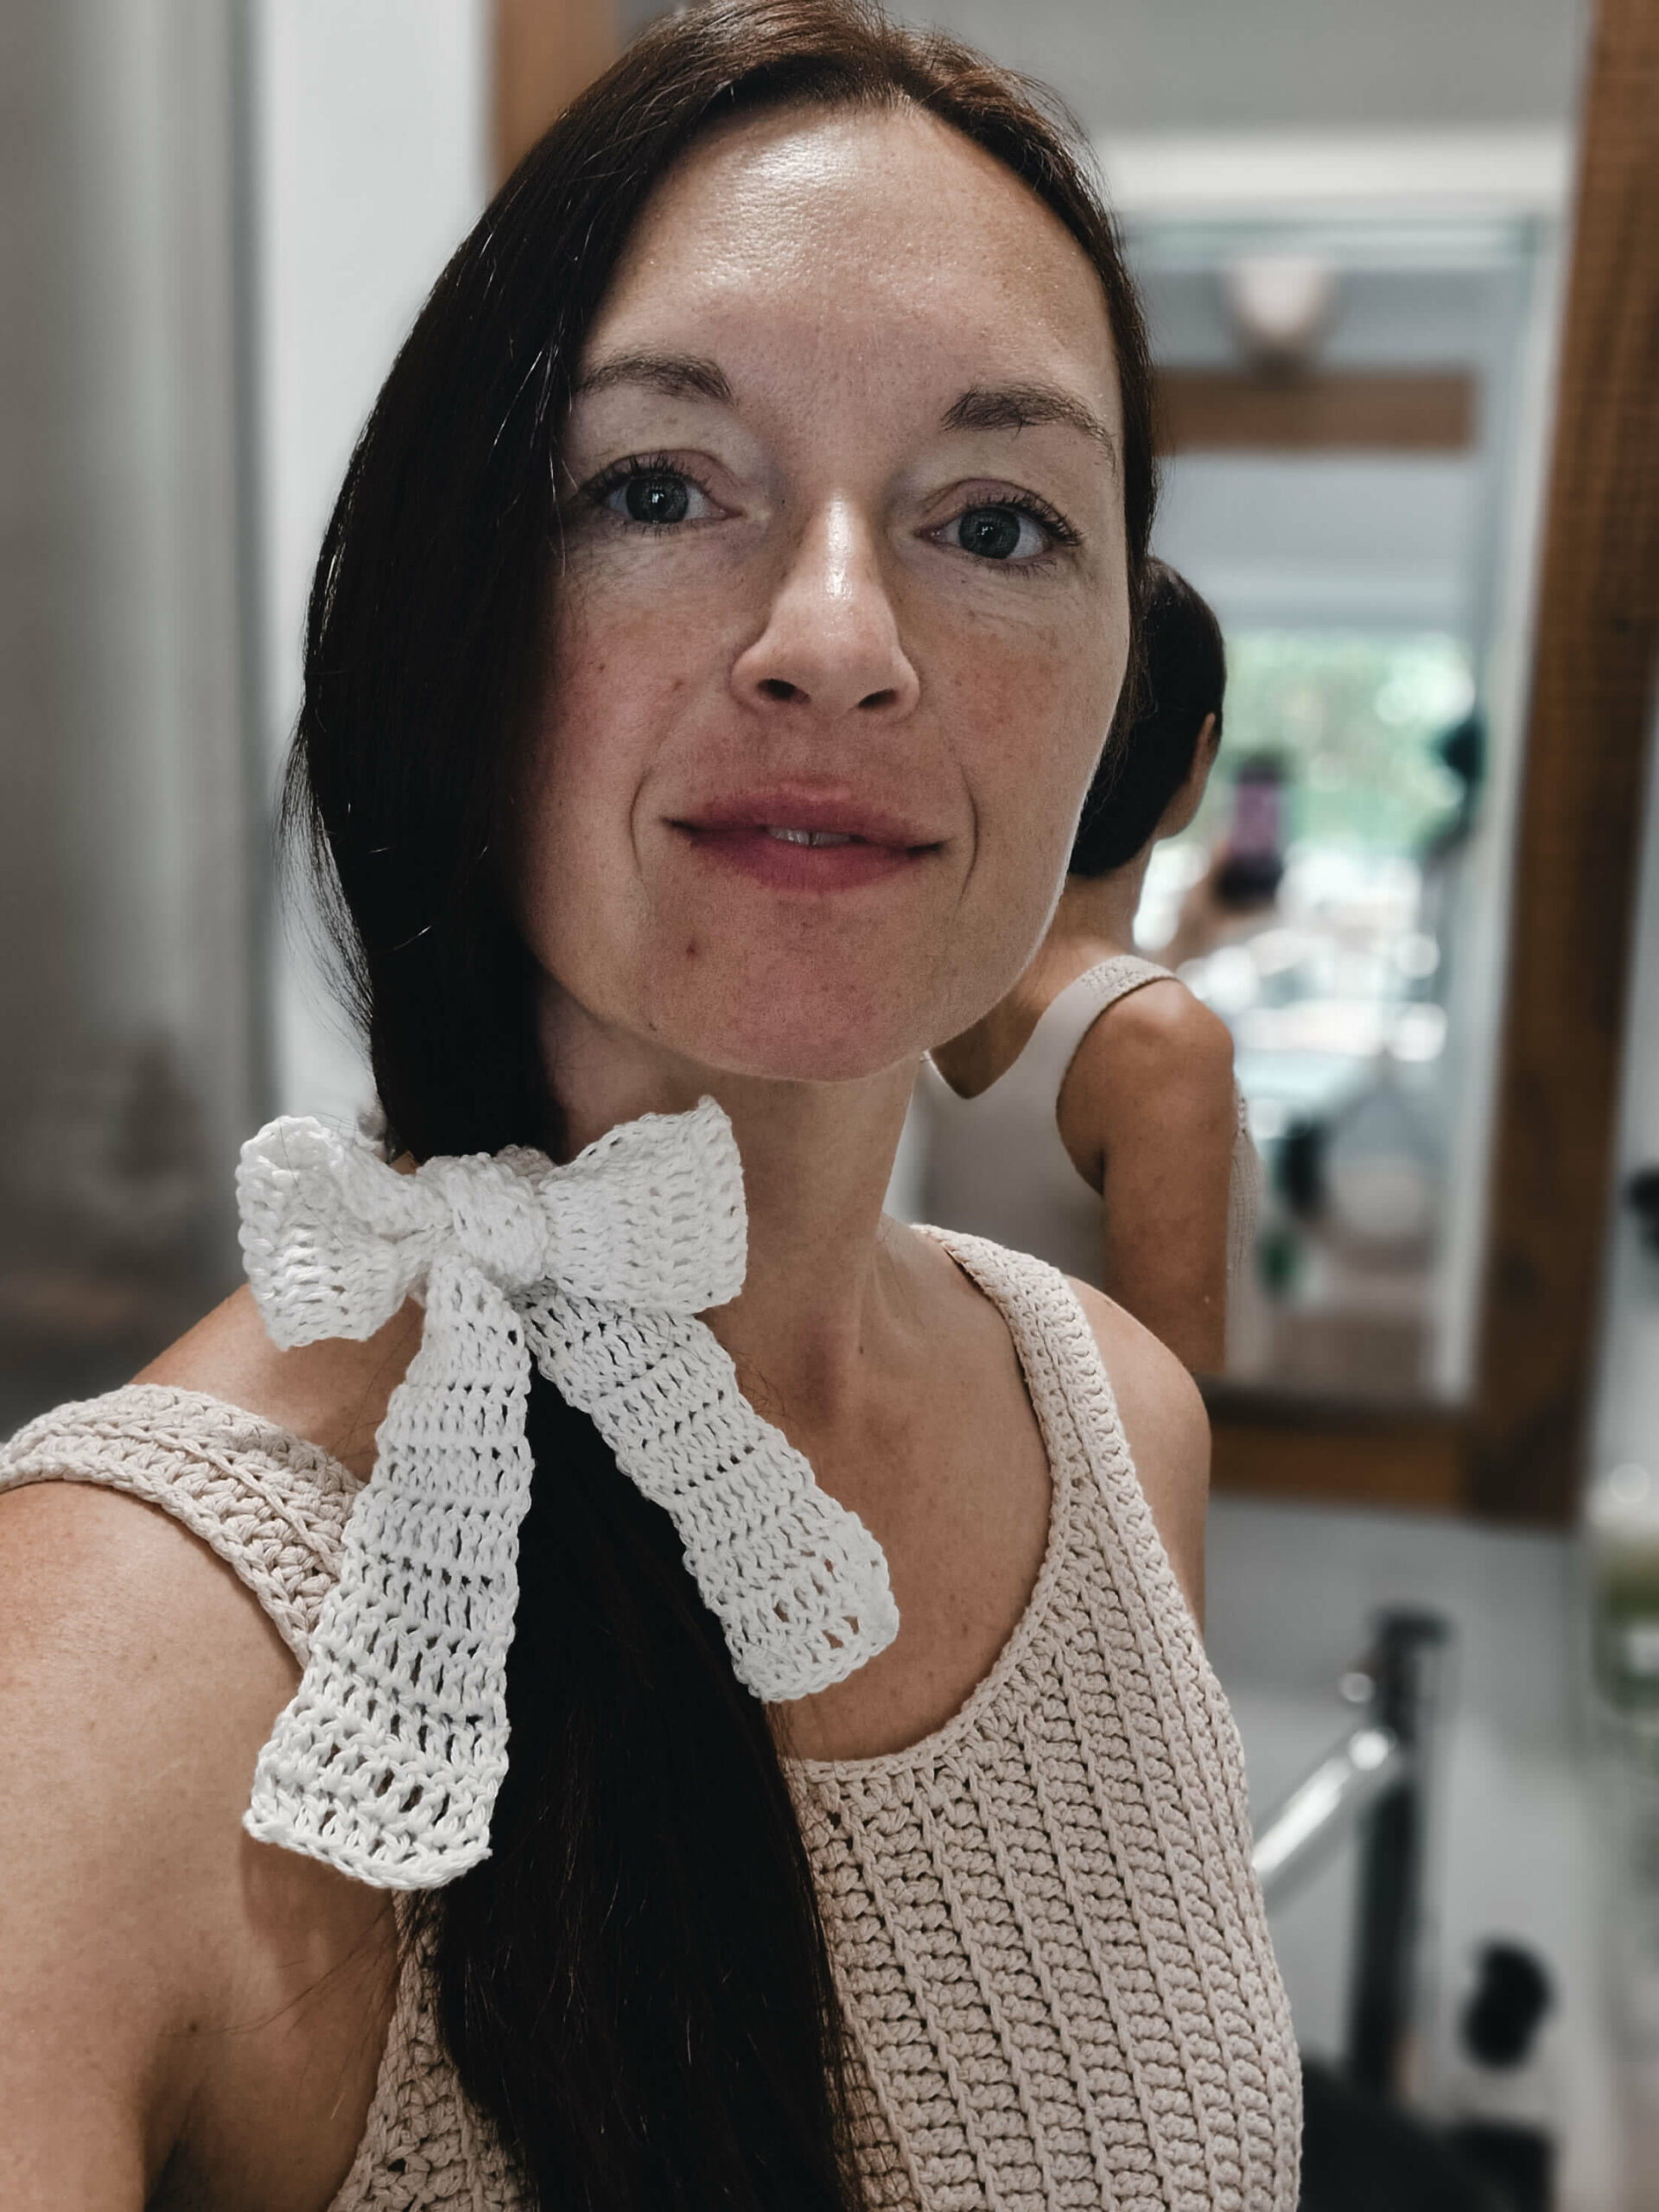
Today, I’m thrilled to share with you a crochet tutorial that’s close to my heart. It’s simple, stylish, and incredibly versatile: The Crochet Headband. This isn’t just any headband; it’s designed in a strip shape, allowing you to tie it around your head with a charming bow. But that’s not all! You can also wrap it around your bun or ponytail for an added touch of elegance.


The Double Crochet Stitch
Before we dive into the tutorial, let’s talk about the stitch that brings this headband to life: the double crochet stitch.The double crochet stitch, abbreviated as ‘dc’ in crochet patterns, is one of the most fundamental and versatile stitches in the crochet world. It’s taller than the single crochet and has a beautiful, slightly airy texture. To create a double crochet, you yarn over, insert your hook into the desired stitch, yarn over again, and pull up a loop. You’ll have three loops on your hook. Yarn over and pull through the first two loops, then yarn over again and pull through the remaining two loops. Voilà! You’ve just made a double crochet stitch.
Creating the Headband
For our headband, the double crochet stitch offers the perfect balance of flexibility and structure, ensuring your headband stays in place while feeling comfortable.
Materials
- Your choice of yarn (Consider a soft cotton or blend for comfort)
- Crochet hook suitable for your yarn weight
- Scissors
- Measuring tape
Instructions
- Start by creating a foundation chain of the desired length (10 chains in my tutorial). This will determine how wide you want the headband strip to be.
- Work the double crochet stitch across the foundation chain starting in the 3rd chain from the hook.
- Continue working rows of double crochet until you reach the desired lenght for your headband.
- Once completed, fasten off and weave in any loose ends.
Styling Tips
- Tie the headband around your head and secure with a bow either on the top for a vintage look or at the nape of your neck for a more classic appearance.
- For those with buns or ponytails, wrap the headband around your hair and tie in place. The bow adds a delightful touch to your updo!
Watch the Tutorial
For a step-by-step visual guide, don’t forget to check out my YouTube tutorial on creating this crochet headband. Whether you’re a seasoned crocheter or just starting, this tutorial is designed to be easy to follow and fun!
Final Thoughts
This crochet headband is more than just an accessory; it’s a statement piece. It showcases your skills, creativity, and personal style. Whether you’re dressing up for a special occasion or just want to add a touch of handmade elegance to your everyday look, this headband is the perfect choice.
Happy crocheting!


0 Comments