Hello, dear crochet enthusiasts!
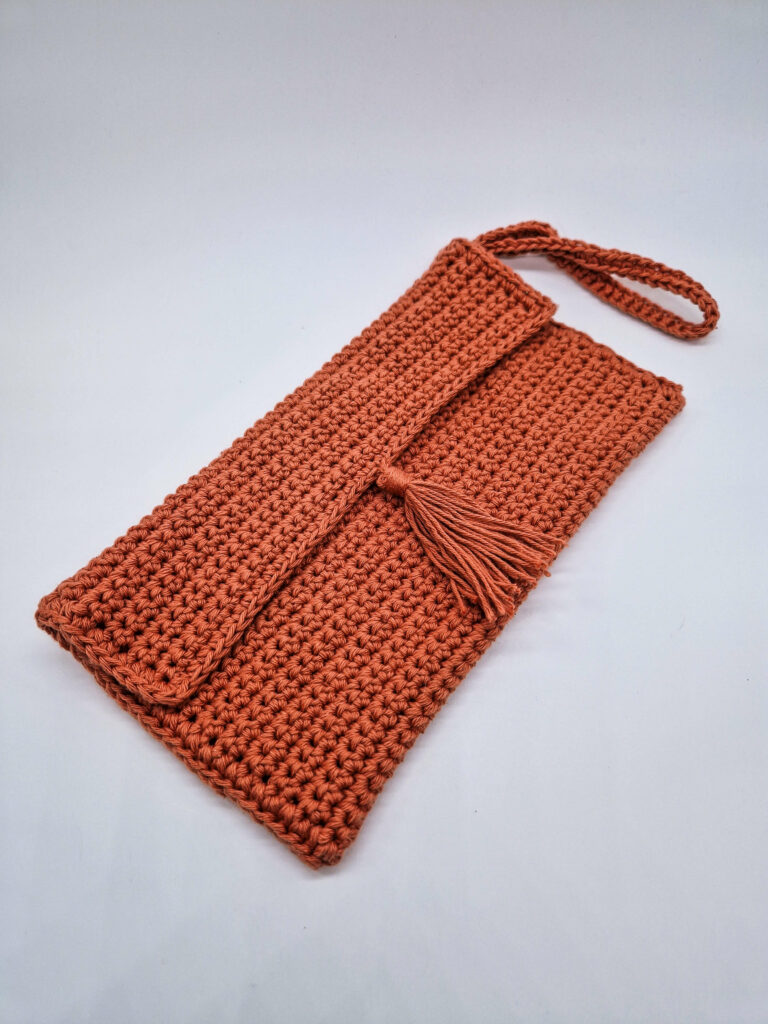
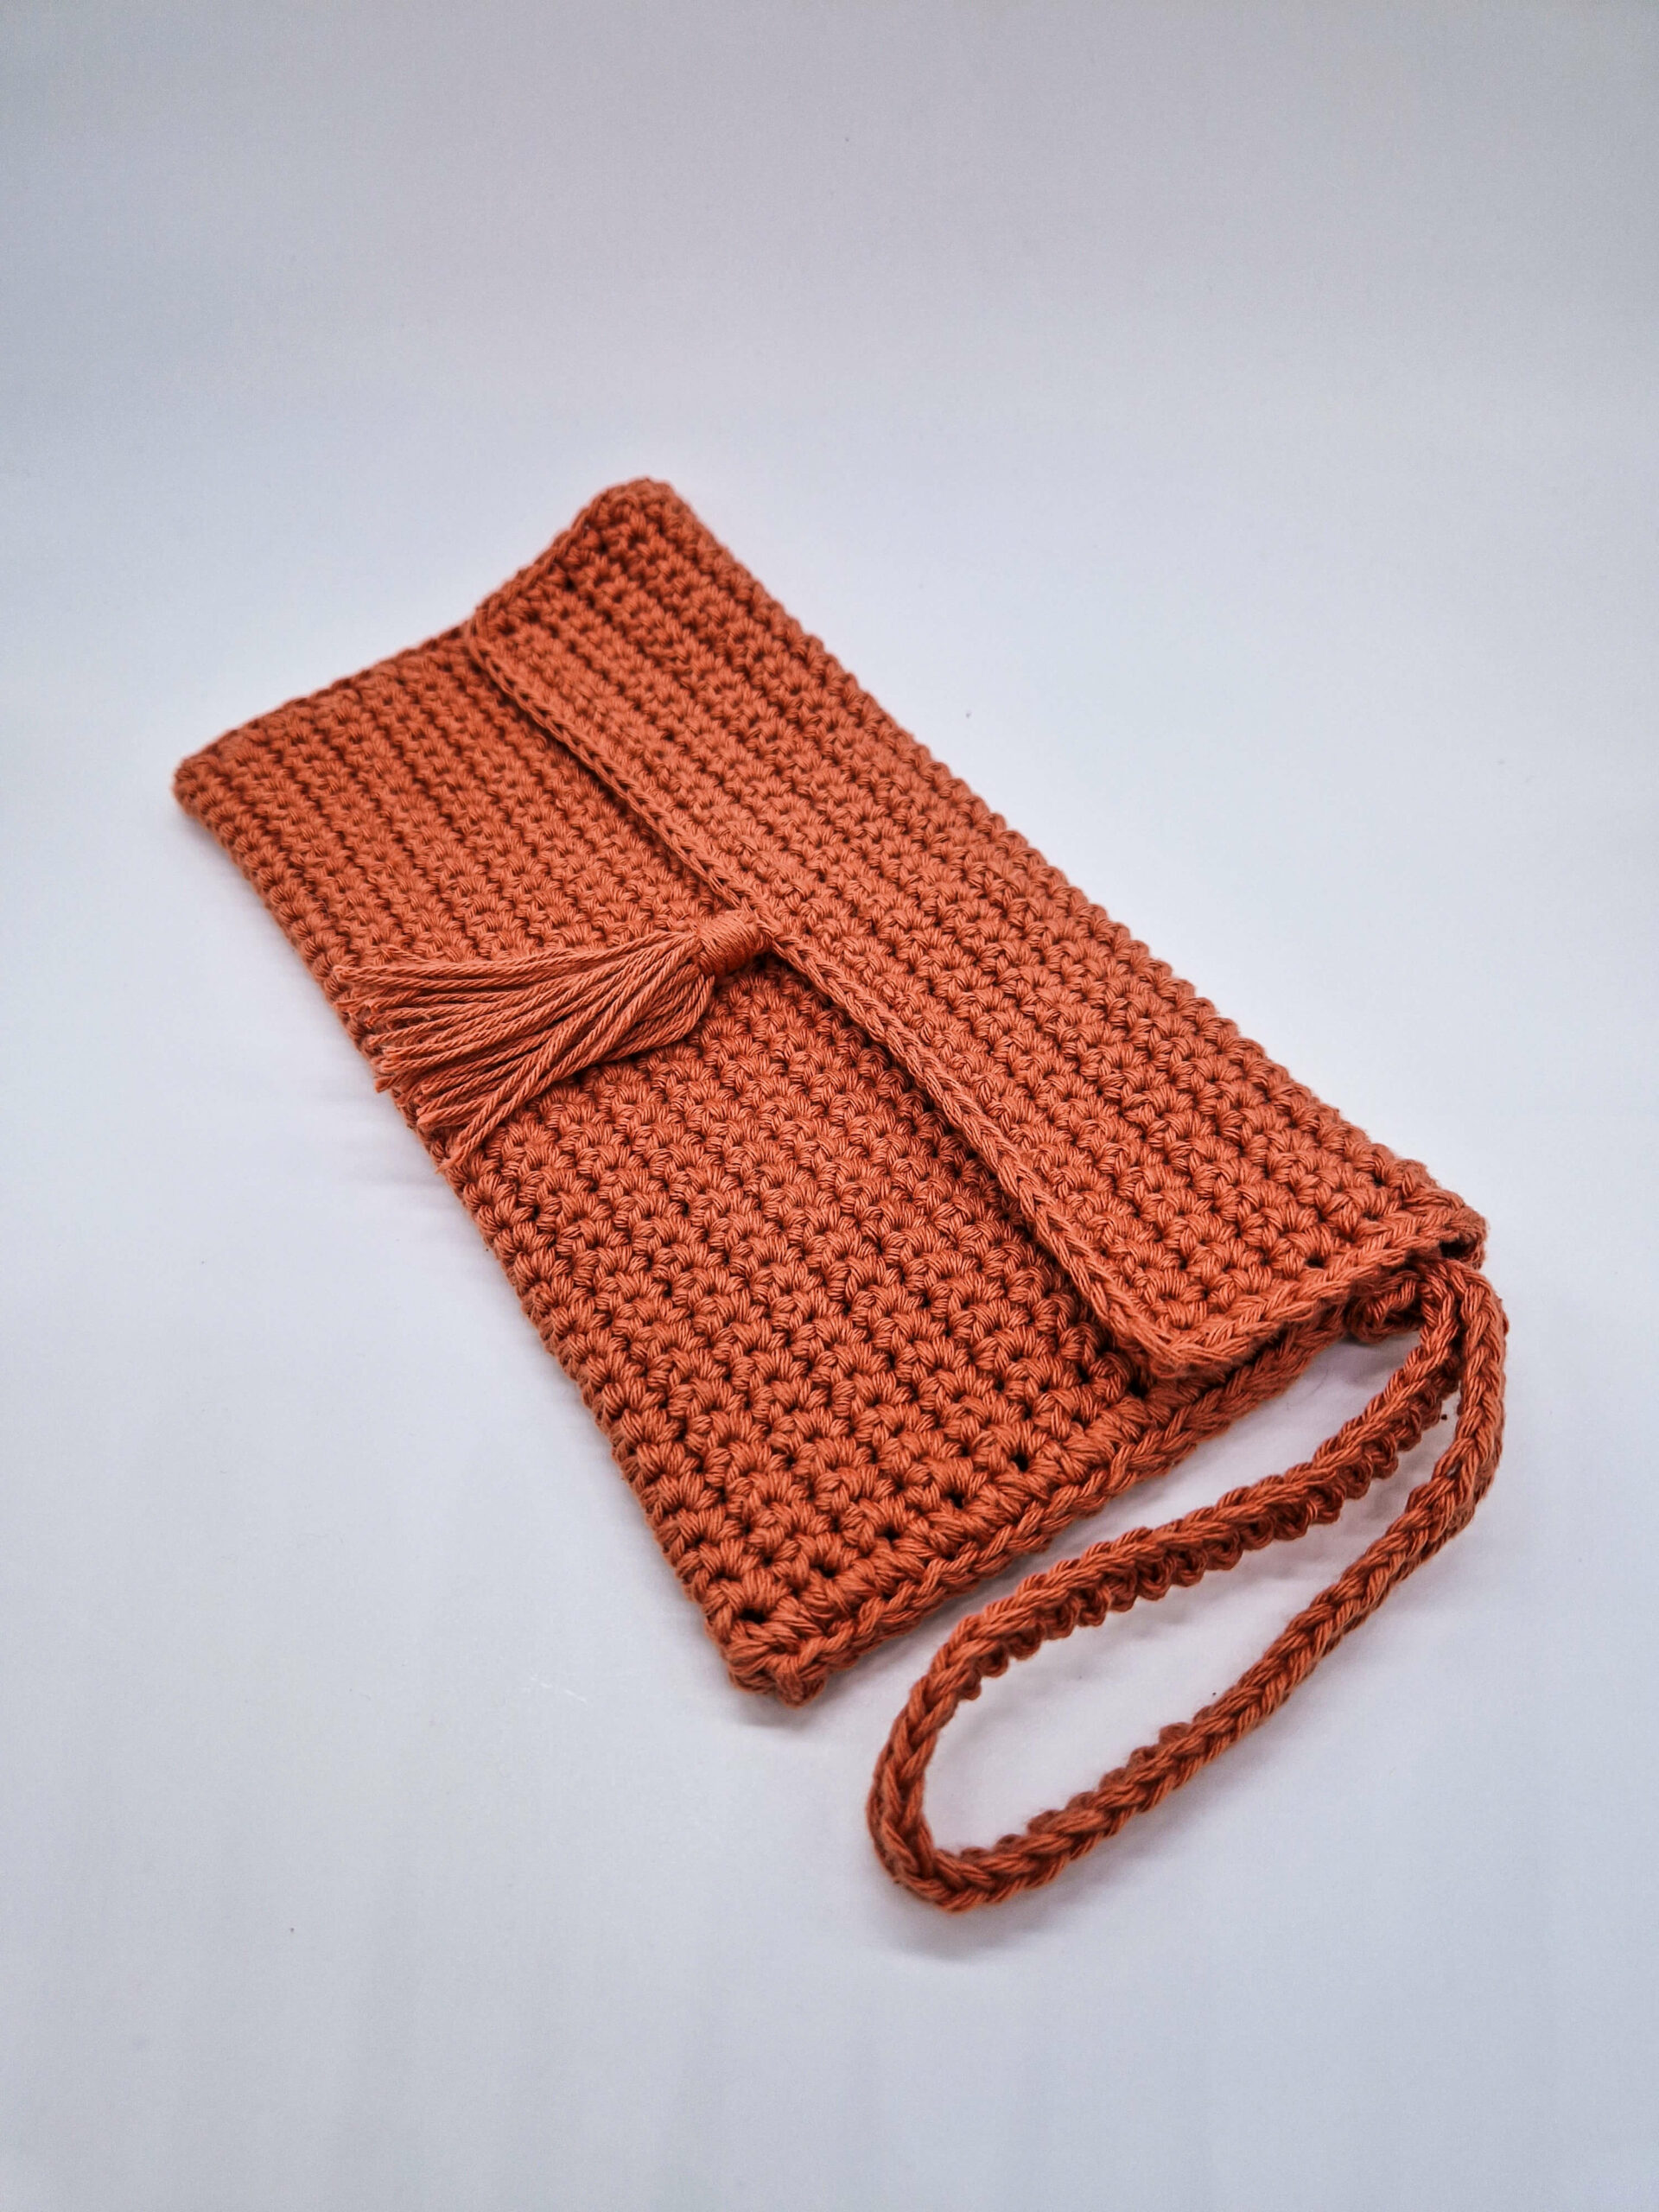
Today, I’m thrilled to share a beginner-friendly project that’s both functional and stylish: the Single Crochet Pencil Case. With its chic design, featuring a handy handle and a playful tassel, this pencil case is perfect for storing your pens, pencils, or even your crochet hooks!

Why You’ll Love This Project:
- It’s beginner-friendly! If you’re new to the world of crochet, this project is a fantastic starting point.
- The design is versatile. You can customize the size based on your needs.
- It’s more than just a pencil case. Use it to store makeup, craft supplies, or even as a small clutch!
Single Crochet Stitch: Step-by-Step Guide
The single crochet stitch is one of the most fundamental and commonly used stitches in crochet. It’s perfect for beginners and forms a tight, dense fabric.
Here’s a step-by-step guide to help you master it:
- Starting Off:
- Begin with a slip knot on your crochet hook.
- Creating a Foundation Chain:
- Yarn over (wrap the yarn over your hook from back to front).
- Pull the yarn through the loop on your hook. This creates one chain stitch.
- Repeat the process for as many chain stitches as your project requires.
- Setting Up for the First Single Crochet:
- Insert your hook into the second chain from the hook. (The loop already on your hook doesn’t count as a chain.)
- Working the Stitch:
- Pull the yarn through the chain. You should now have two loops on your hook.
- Yarn over.
- Pull the yarn through both loops on the hook.
- Continuing the Row:
- Move to the next chain stitch and repeat step 4. Continue this process across the entire foundation chain.
- Starting a New Row (if your project has multiple rows):
- Once you’ve reached the end of your foundation chain, chain one (this acts as a turning chain).
- Turn your work so you’re ready to start the next row.
- Insert your hook into the first stitch of the previous row and repeat step 4. Continue across the row.
- Finishing Off:
- Once you’ve completed your project or reached the desired length, cut the yarn, leaving a tail.
- Yarn over and pull the tail through the loop on your hook. Pull tight to secure.
Tips:
- Ensure that your tension is consistent to achieve a uniform look.
- Practice makes perfect! The more you practice the single crochet stitch, the more comfortable and even your stitches will become.
Now that you’ve learned the single crochet stitch, you’re well on your way to creating my single crochet pencil case.
Materials:
- Worsted weight or similar yarn
- Crochet hook suitable for your chosen yarn
- Yarn needle
- Measuring tape
- Scissors
Let’s Dive into the Instructions:
- Starting Off: Begin by chaining 38 (you can chain less or more depending on the size you want).
- Row 1: Work a single crochet in the 2nd chain from the hook and continue across the row.
- Row 2: Chain 1 and turn. Work single crochet stitches all the way across.
- Building Length: Continue repeating Row 2 until you achieve the desired length for your pencil case. The beauty of this design is that you can customize the size to your liking!
- Crafting the Edge:
- Start with a chain 1.
- In the corner, work 3 single crochets.
- Now, work 1 single crochet in each row of single crochets you’ve made.
- When you reach the next corner, work 3 single crochets.
- Continue with single crochets across the stitches.
- Repeat the process for the remaining two corners and sides.
- Finish off by either slip stitching or using an invisible join to the first stitch.
For the final touches, including sewing the edges, attaching the handle, and adding that adorable tassel, I recommend following the step-by-step instructions in the video tutorial. It provides visual guidance that’s especially helpful for beginners!
Whether you’re crafting this for yourself, gifting it to a friend, or even considering selling your handmade creations, this Single Crochet Pencil Case is a winner. Happy crocheting, and don’t forget to share your finished projects with our community!


0 Comments