A Quick and Easy Crochet Pattern
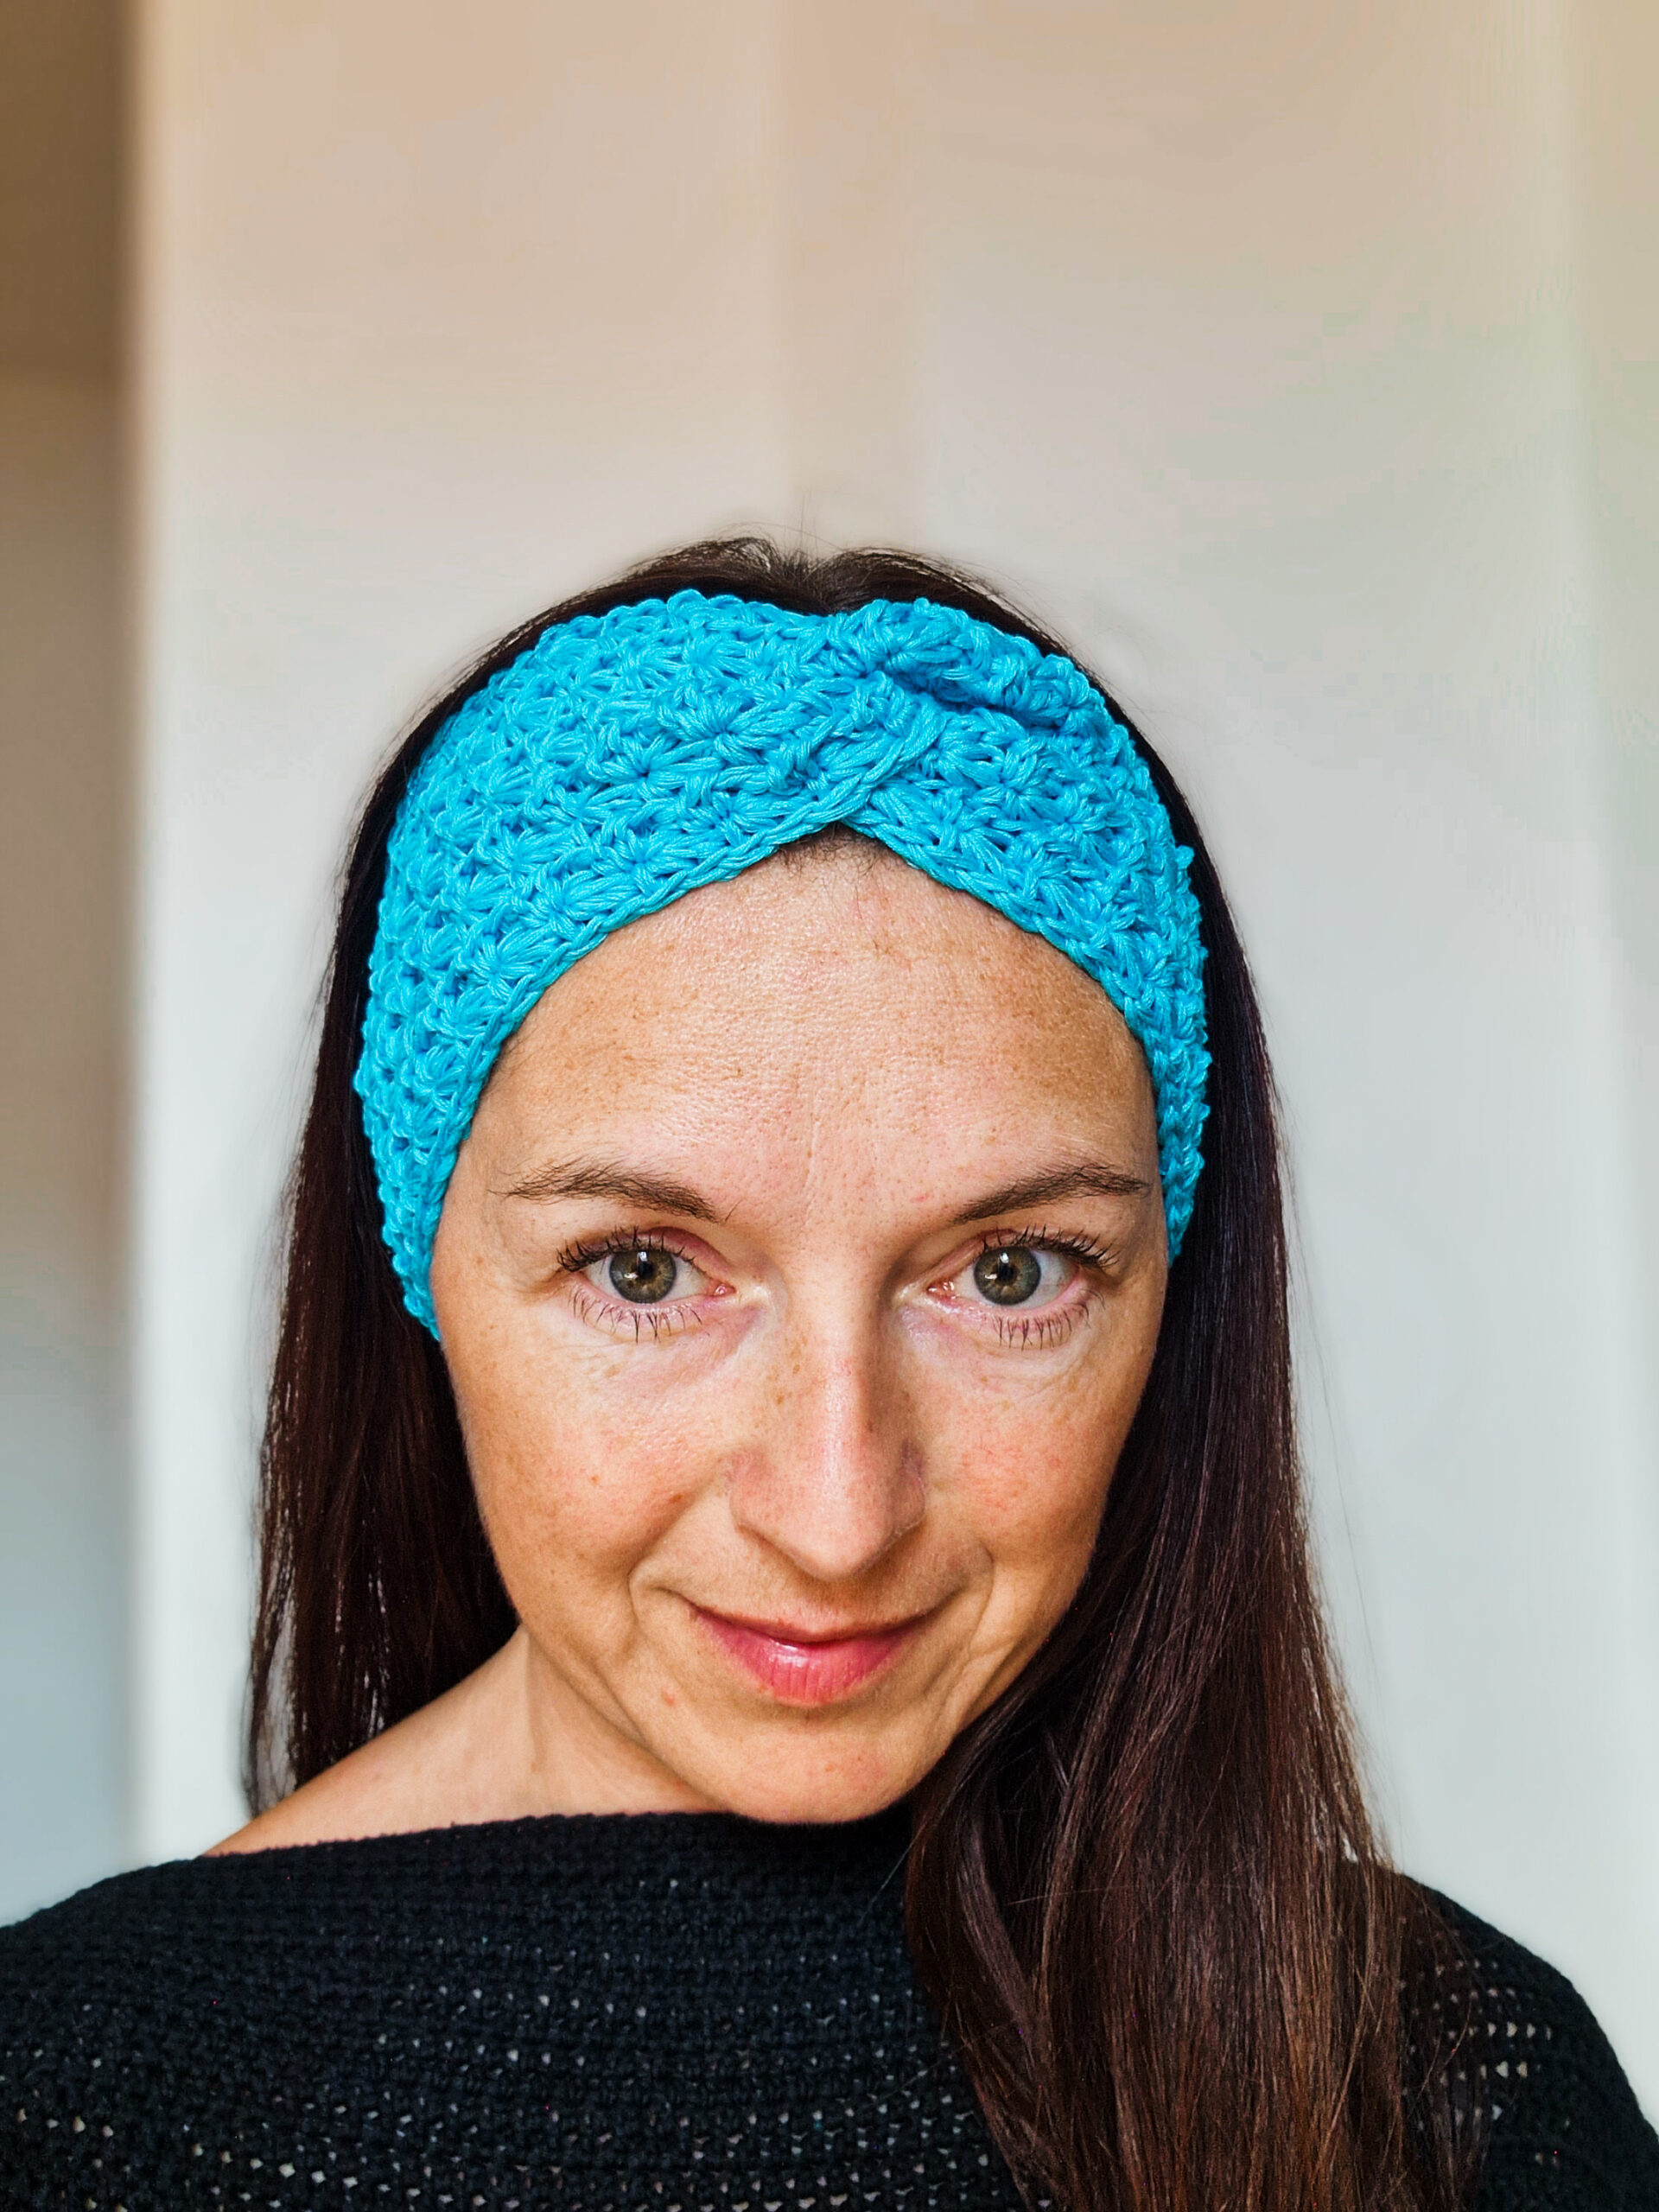
I’m excited to share my latest free crochet pattern – the Star Stitch Headband! This charming and quick project is designed for all skill levels, even beginners, thanks to its easy-to-follow instructions and step-by-step stitch guide.


The Inspiration Behind the Design
A friend of mine asked me to create a headband using yarn she got from her grandmother. I was touched by the story and decided to make something simple yet beautiful. The Star Stitch Headband was born! It’s a fast project, making it ideal for those who want a quick crochet make.
Materials and Supplies
For this project, you’ll need the following materials:
- Yarn: Satex Sonja, yarn group A, 100% mercerized cotton, color turquoise
- Hook: 5 mm
- Yarn Needle
- Scissors
- Measuring Tape
- Stitch Markers


Gauge
- 8 stars and 9 rows = 10 x 10 cm
Instructions for the sample:
Ch 18
Row 1: You will be working in the back bumps of the chs. Ch 3, pick up 5 loops beginning in 2nd ch (6 loops on the hook), yo and pull through all 6 loops, ch 1 to close the star (that is the eye of the star).
* pick up 1 loop in the eye, pick up 1 loop in the side of the last st of the previous star, pick up 1 loop in the same ch as the last st of the previous star, pick up 1 loop in each of the next 2 chs (= 6 loops on the hook), yo and pull through all 6 loops, ch 1 *, repeat across. Ldc in the last ch (insert the hook in the eye an pull up a loop, insert the hook in the last ch and pull up a loop, yo and pull through 2 loops, yo and pull through 2 loops). (8 stars)
Row 2: ch 1, turn. Work 1 hdc in the 1st st, 2 hdc in every eye across, hdc in the last st. (18 hdc)
Row 3: ch 3, turn. Pick up 5 loops beginning in the 2nd ch from the hook, 3rd ch from the hook, 1st st and next 2 sts (= 6 loops on the hook), yo and pull through all 6 loops on the hook. Ch 1 to close the star. *Pick up 1 loop in the eye, pick up 1 loop in the side of the last st of the previous star, pick up 1 loop in the same st as the last st of the previous star, pick up 1 loop in each of the next 2 sts (= 6 loops on the hook), yo and pull through all 6 loops, 1 ch *, repeat across. Ldc in the last st. (8 stars)
Repeat row 2 and 3 until row 9.


Pattern Details
The headband is made by first crocheting a band and then sewing the ends together to create a stylish twist. The pattern includes a detailed explanation of the star stitch and linked double crochet stitch to help you along the way.
Size Chart
This pattern includes instructions for head circumferences of 48, 50, 52, 54, 56, 58, 60, and 62 cm.
Stitch Key (US terminology)
- ch = chain
- chs = chains
- hdc = half double crochet
- ldc = linked double crochet
- yo = yarn over
- sc5tog = single crochet 5 stitches together
- st = stitch
- sts = stitches
- slst = slip stitch
- slsts = slip stitches
Specialty Stitch & Technique Key
- Star stitch: Explained in the instructions for the sample gauge.
- Linked double crochet: Explained in the instructions for the sample gauge.
Notes
- Work with 2 strands of yarn at once.
- Add or reduce the number of rows to adjust the width. The number of rows has to be even.
Instructions
Ch 72 (76, 78, 82, 84, 86, 90, 92)
Row 1: ch 3, sc5tog from 2nd chain, ch 1, *sc5tog from ch1, ch 1*, repeat from * until you have 1 ch left, 1 ldc in that last ch.
Row 2: ch 1, turn, *2 hdc in each ch 1 from the previous row*, repeat from * until the end, 1 hdc in the last st. 72 (76, 78, 82, 84, 86, 90, 92)
Row 3: ch 3 (does not count as a stitch), turn, sc5tog from 2nd chain, ch 1, *sc5tog from ch 1, ch 1*, repeat from * until you have 1st left, 1 ldc in that last st.
Row 4: ch 1, turn, *2 hdc in each ch 1 from the previous row*, repeat from * until the end, 1 hdc in the last stitch. 72 (76, 78, 82, 84, 86, 90, 92)
Repeat rows 3 and 4 until row 10.
Finish off leaving a long tail for sewing.
RS facing, bend the ends of the band as shown in the pictures below


and sew all 4 layers together as shown in the pictures below.


Get Started Now!
This Star Stitch Headband pattern is available for free on my blog. It’s a perfect project for using up that special yarn and makes a wonderful gift. Happy crocheting!


0 Comments