Alpine Stitch Hoodie

Alpine Stitch Hoodie

Sale price  €4,62 EUR Regular price  €6,60 EUR 30% OFF
Skip to product information
Alpine Stitch Hoodie

Alpine Stitch Hoodie

Sale price  €4,62 EUR Regular price  €6,60 EUR 30% OFF
This price beats Etsy & Ravelry

Easy

Made to fit your body!

Written pattern and YouTube tutorial

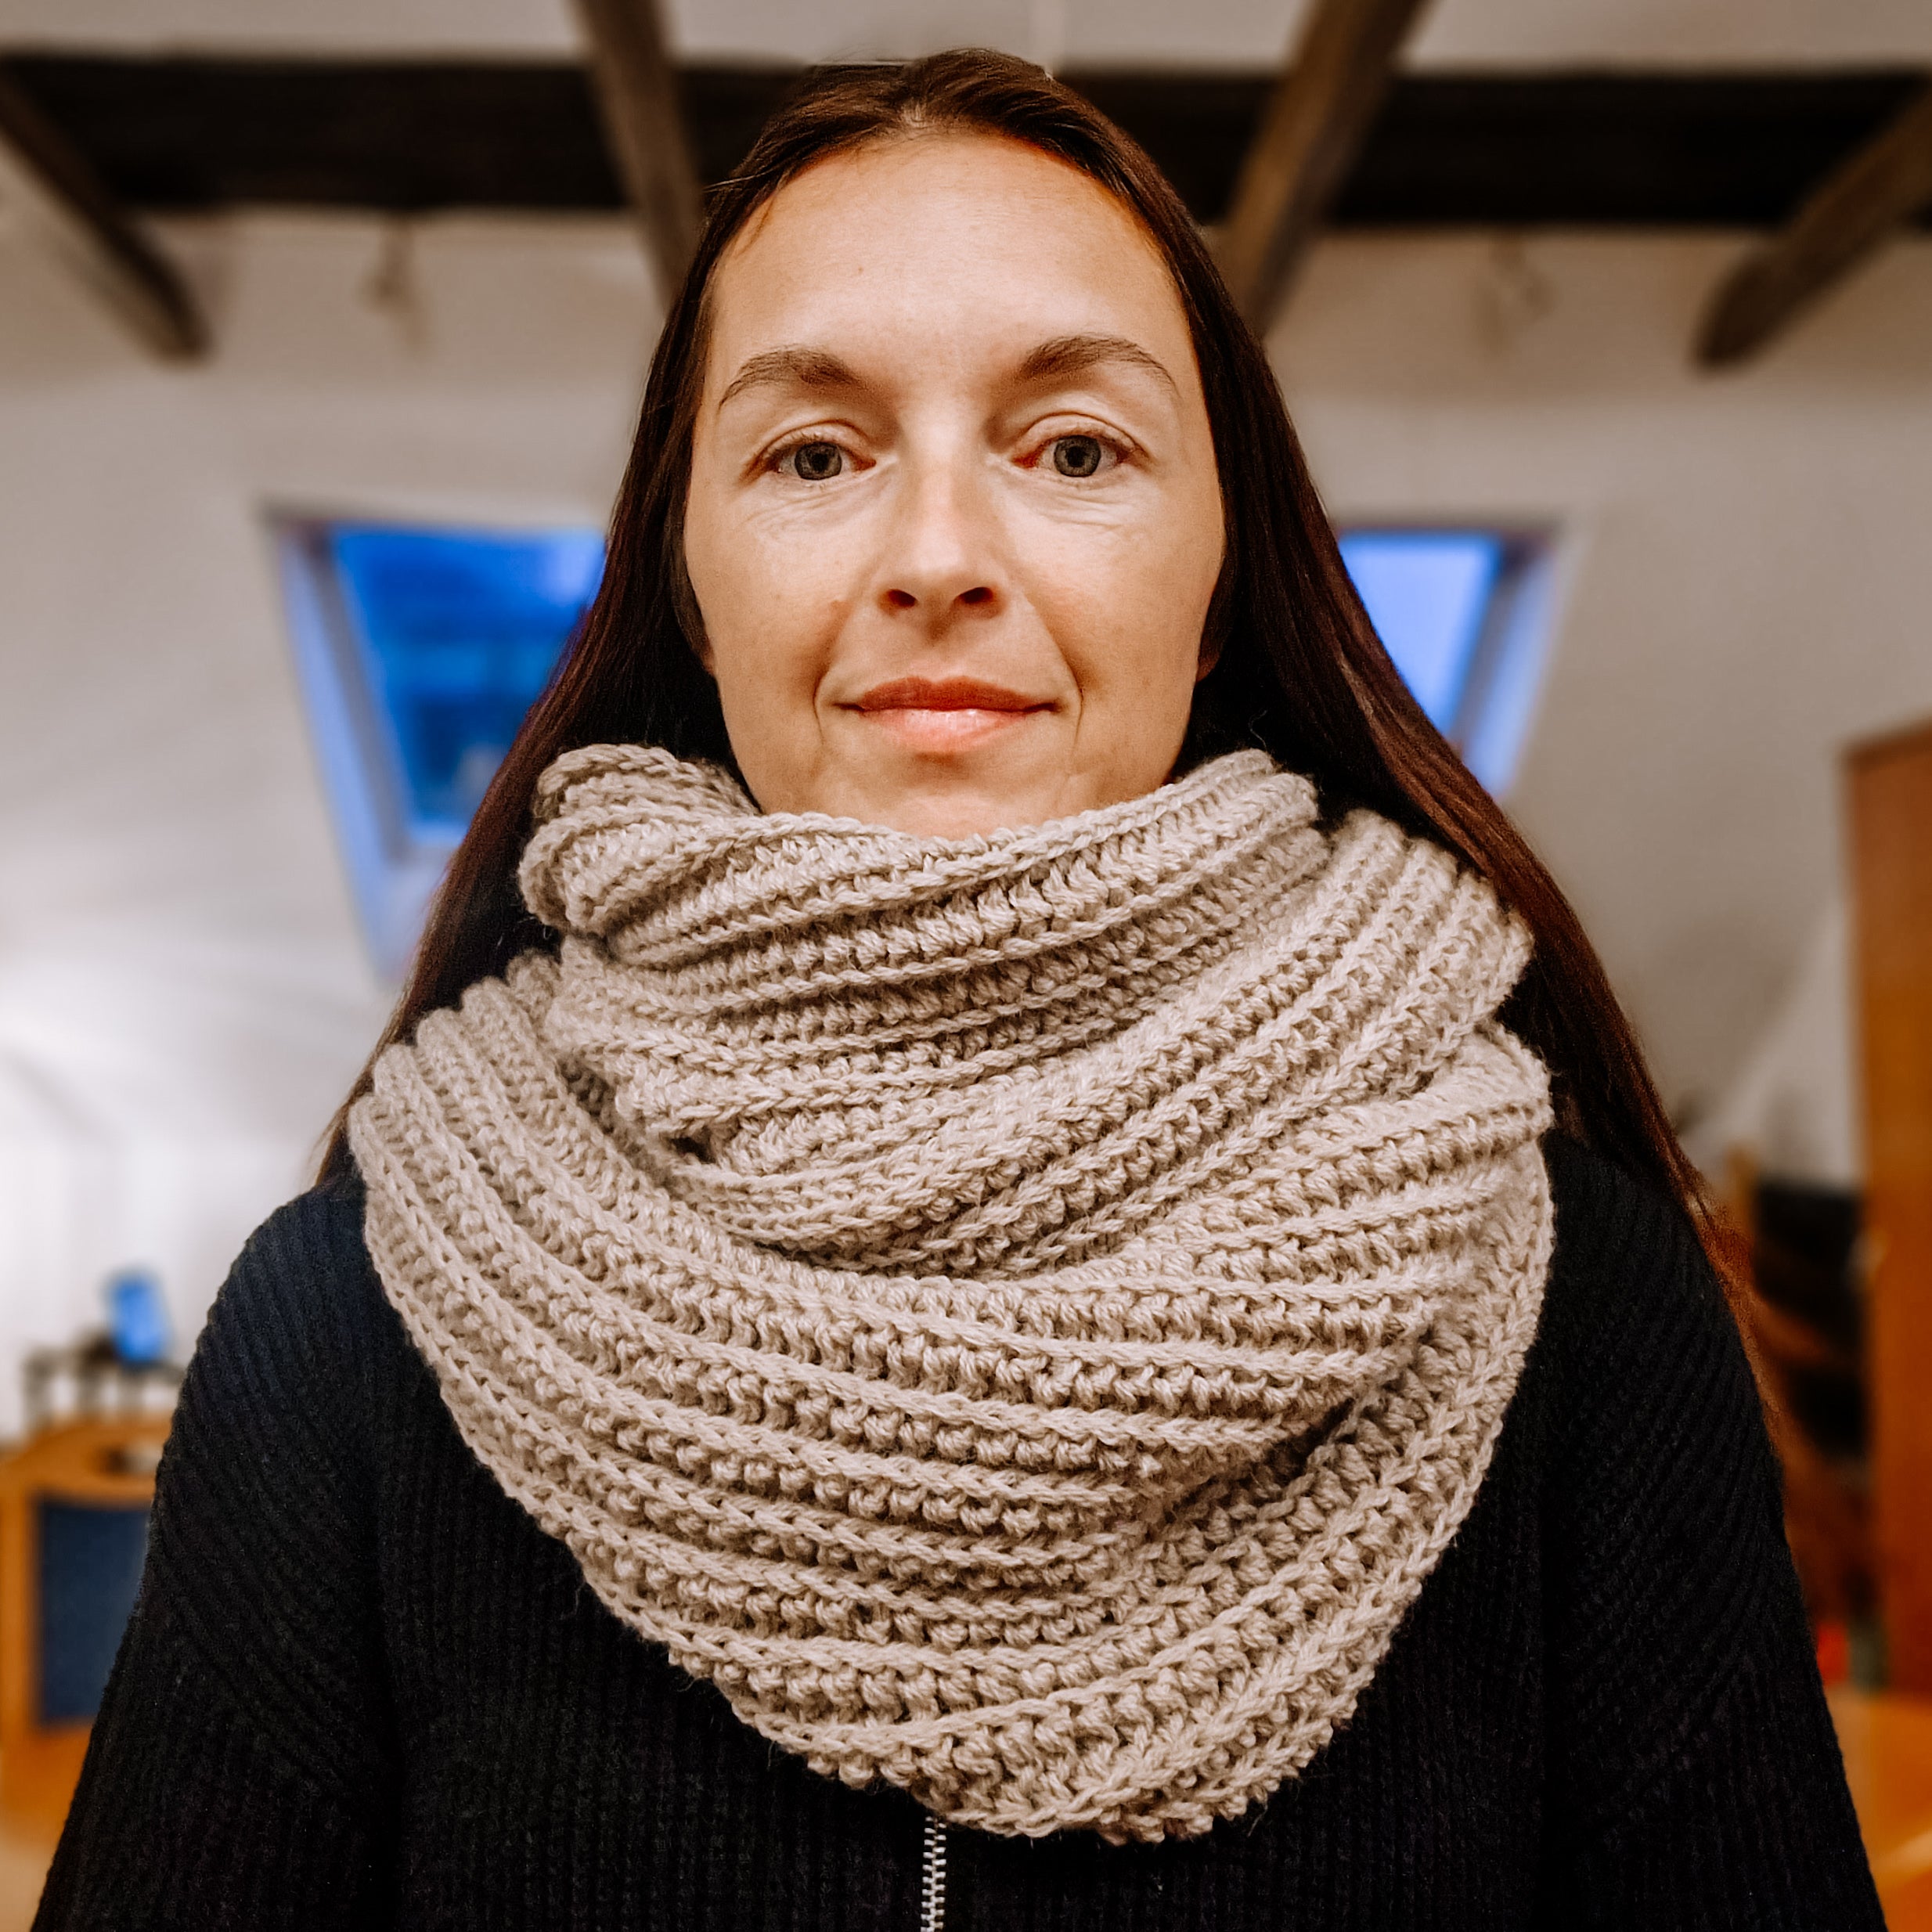
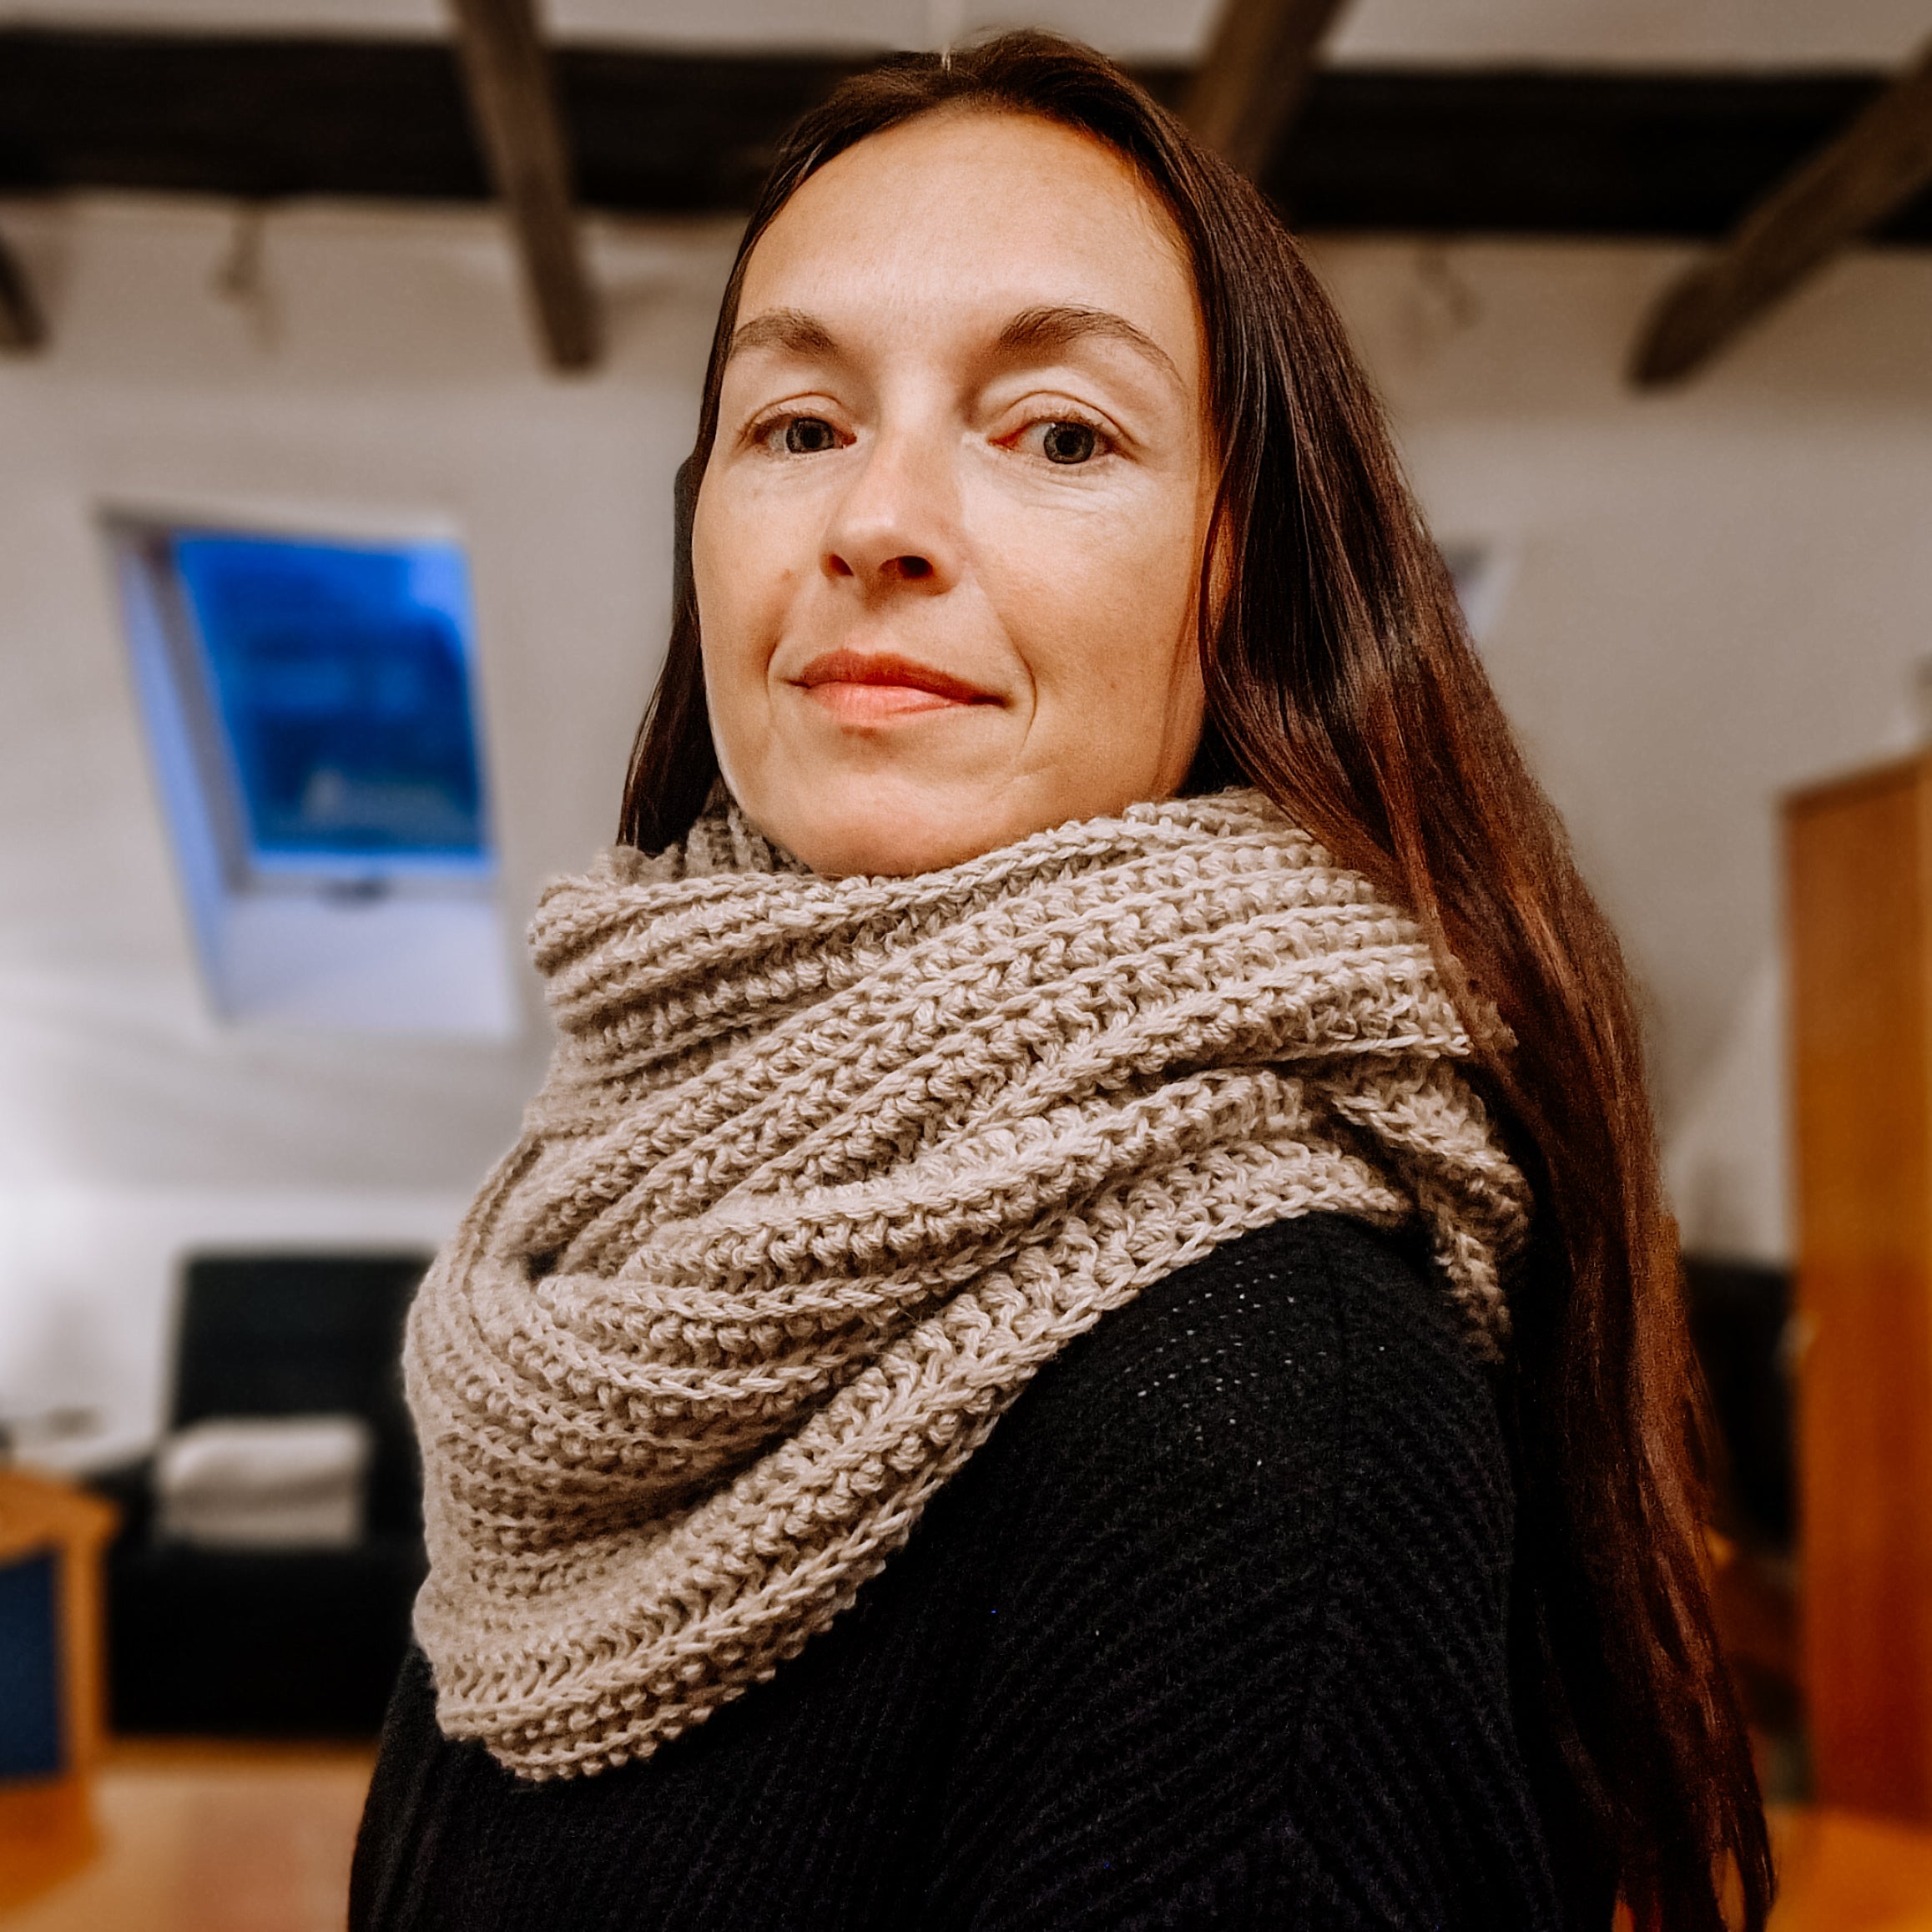
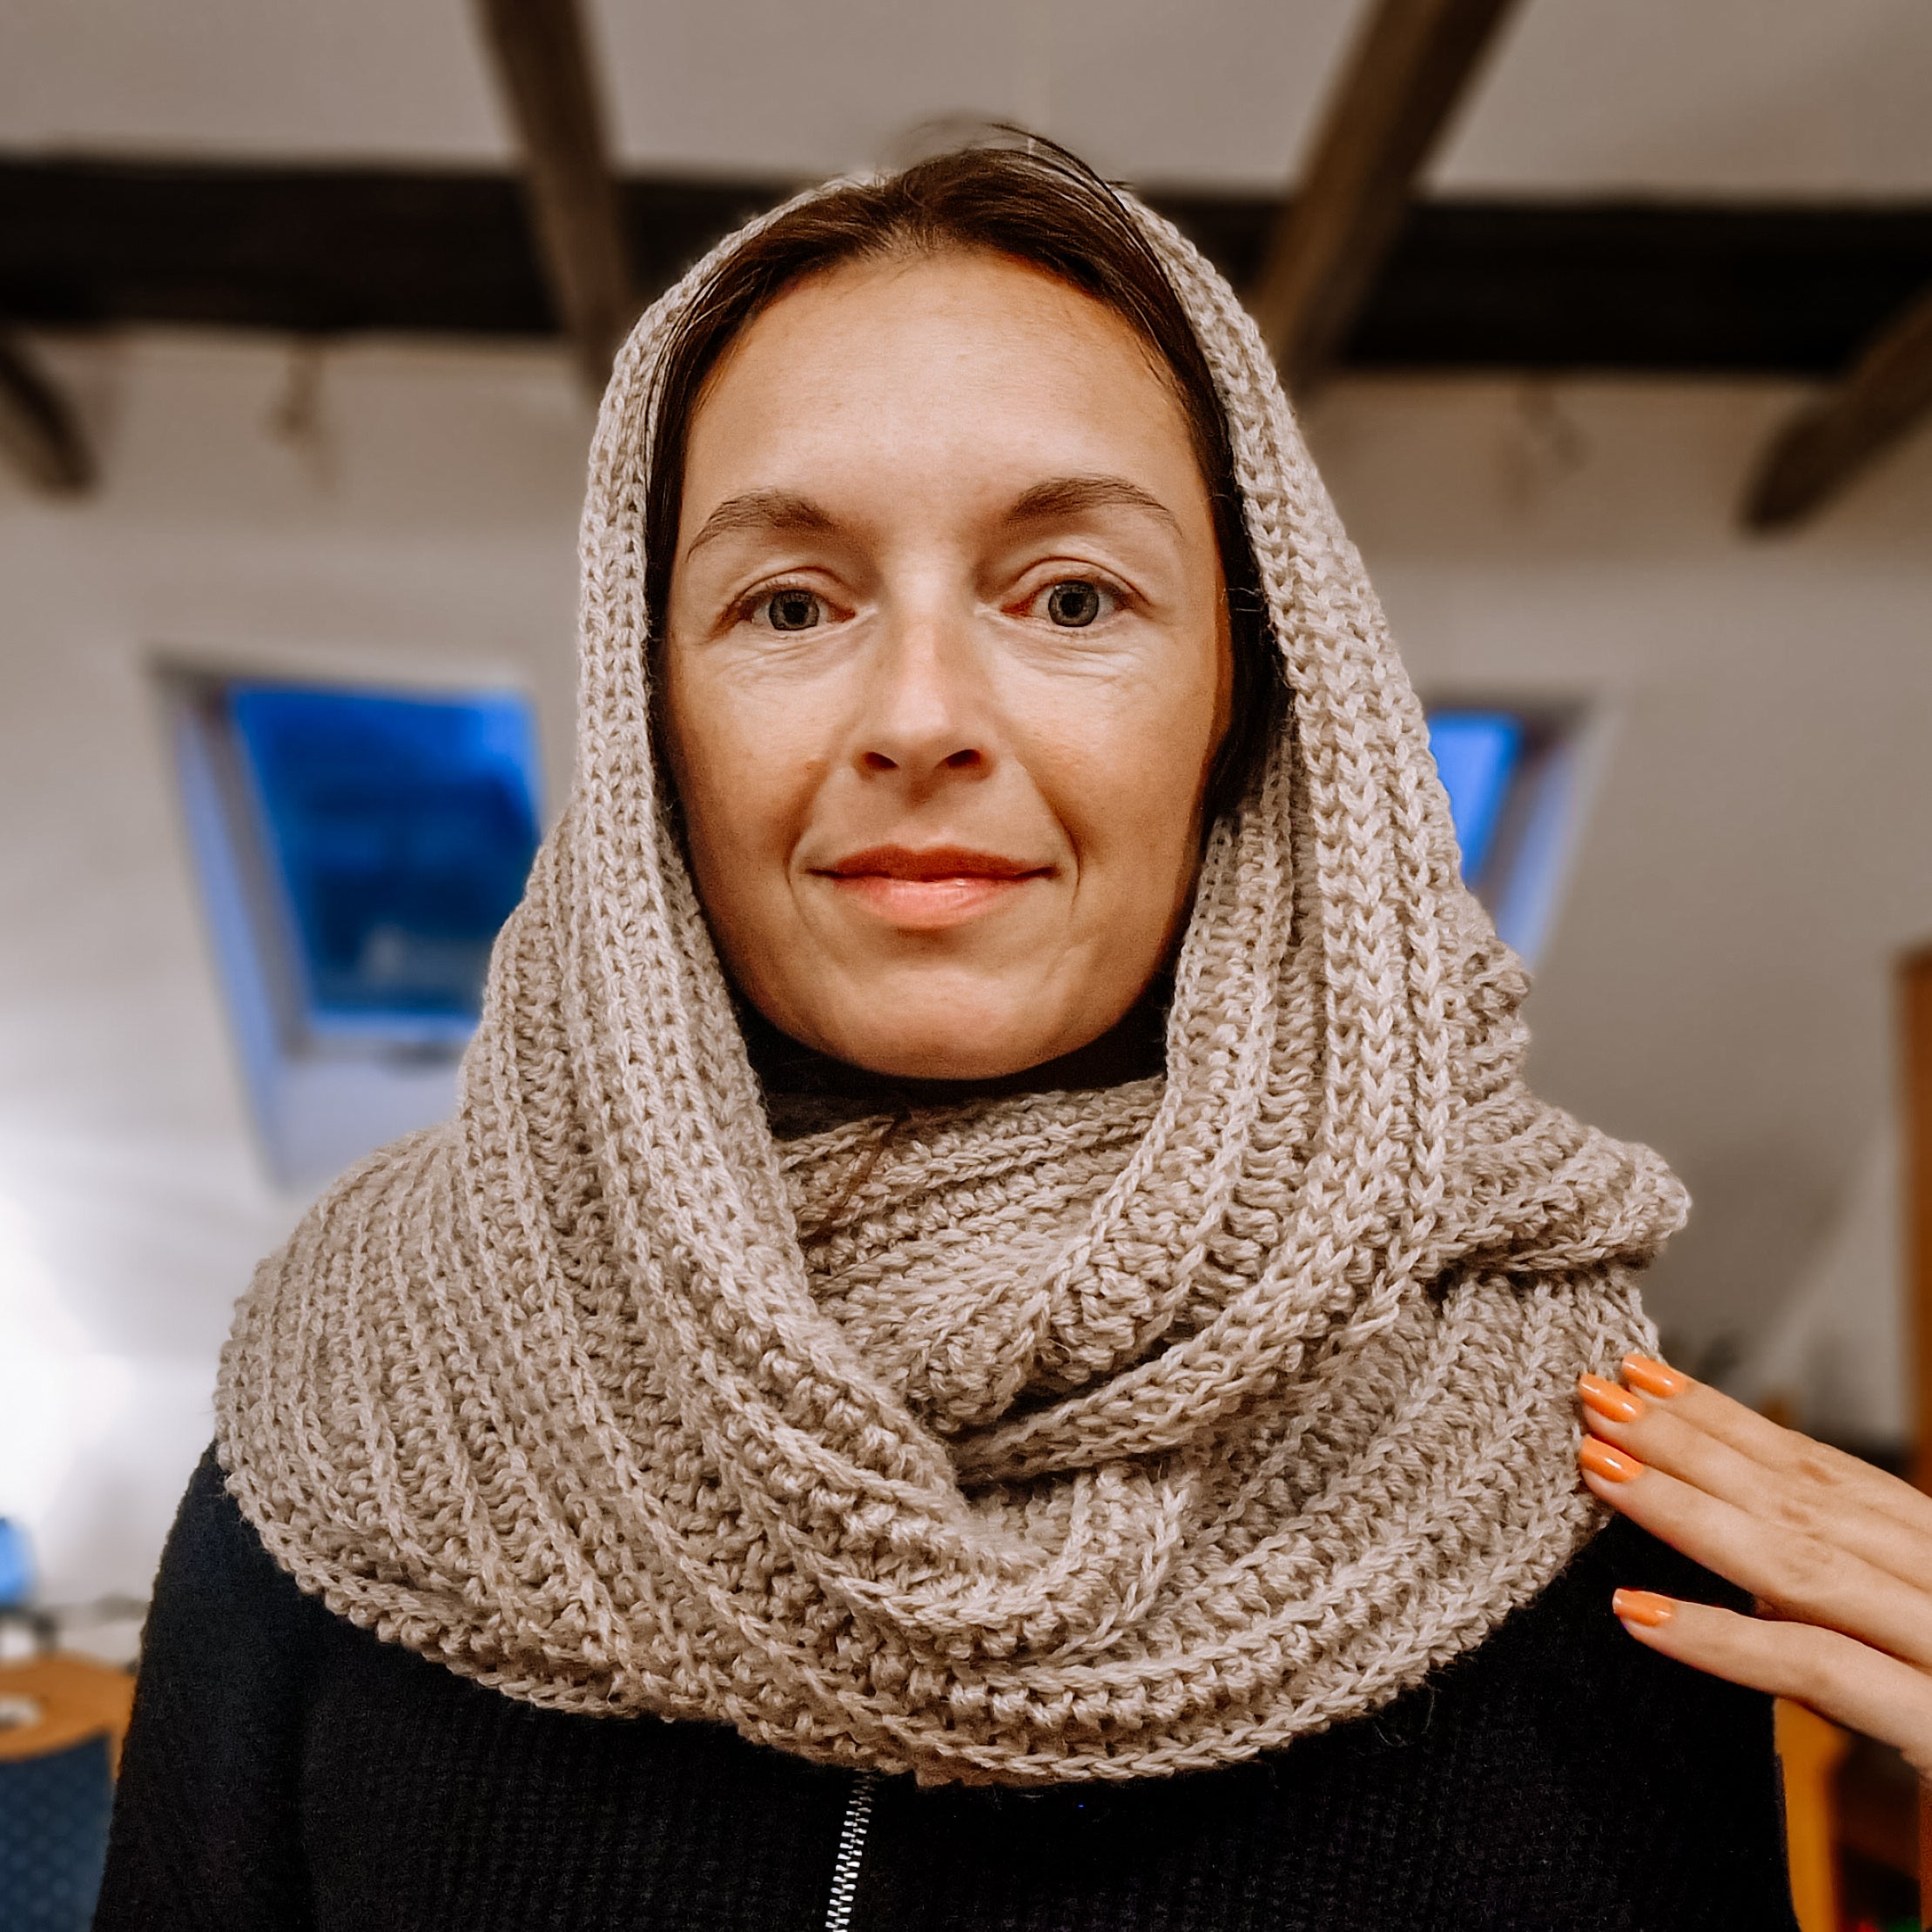
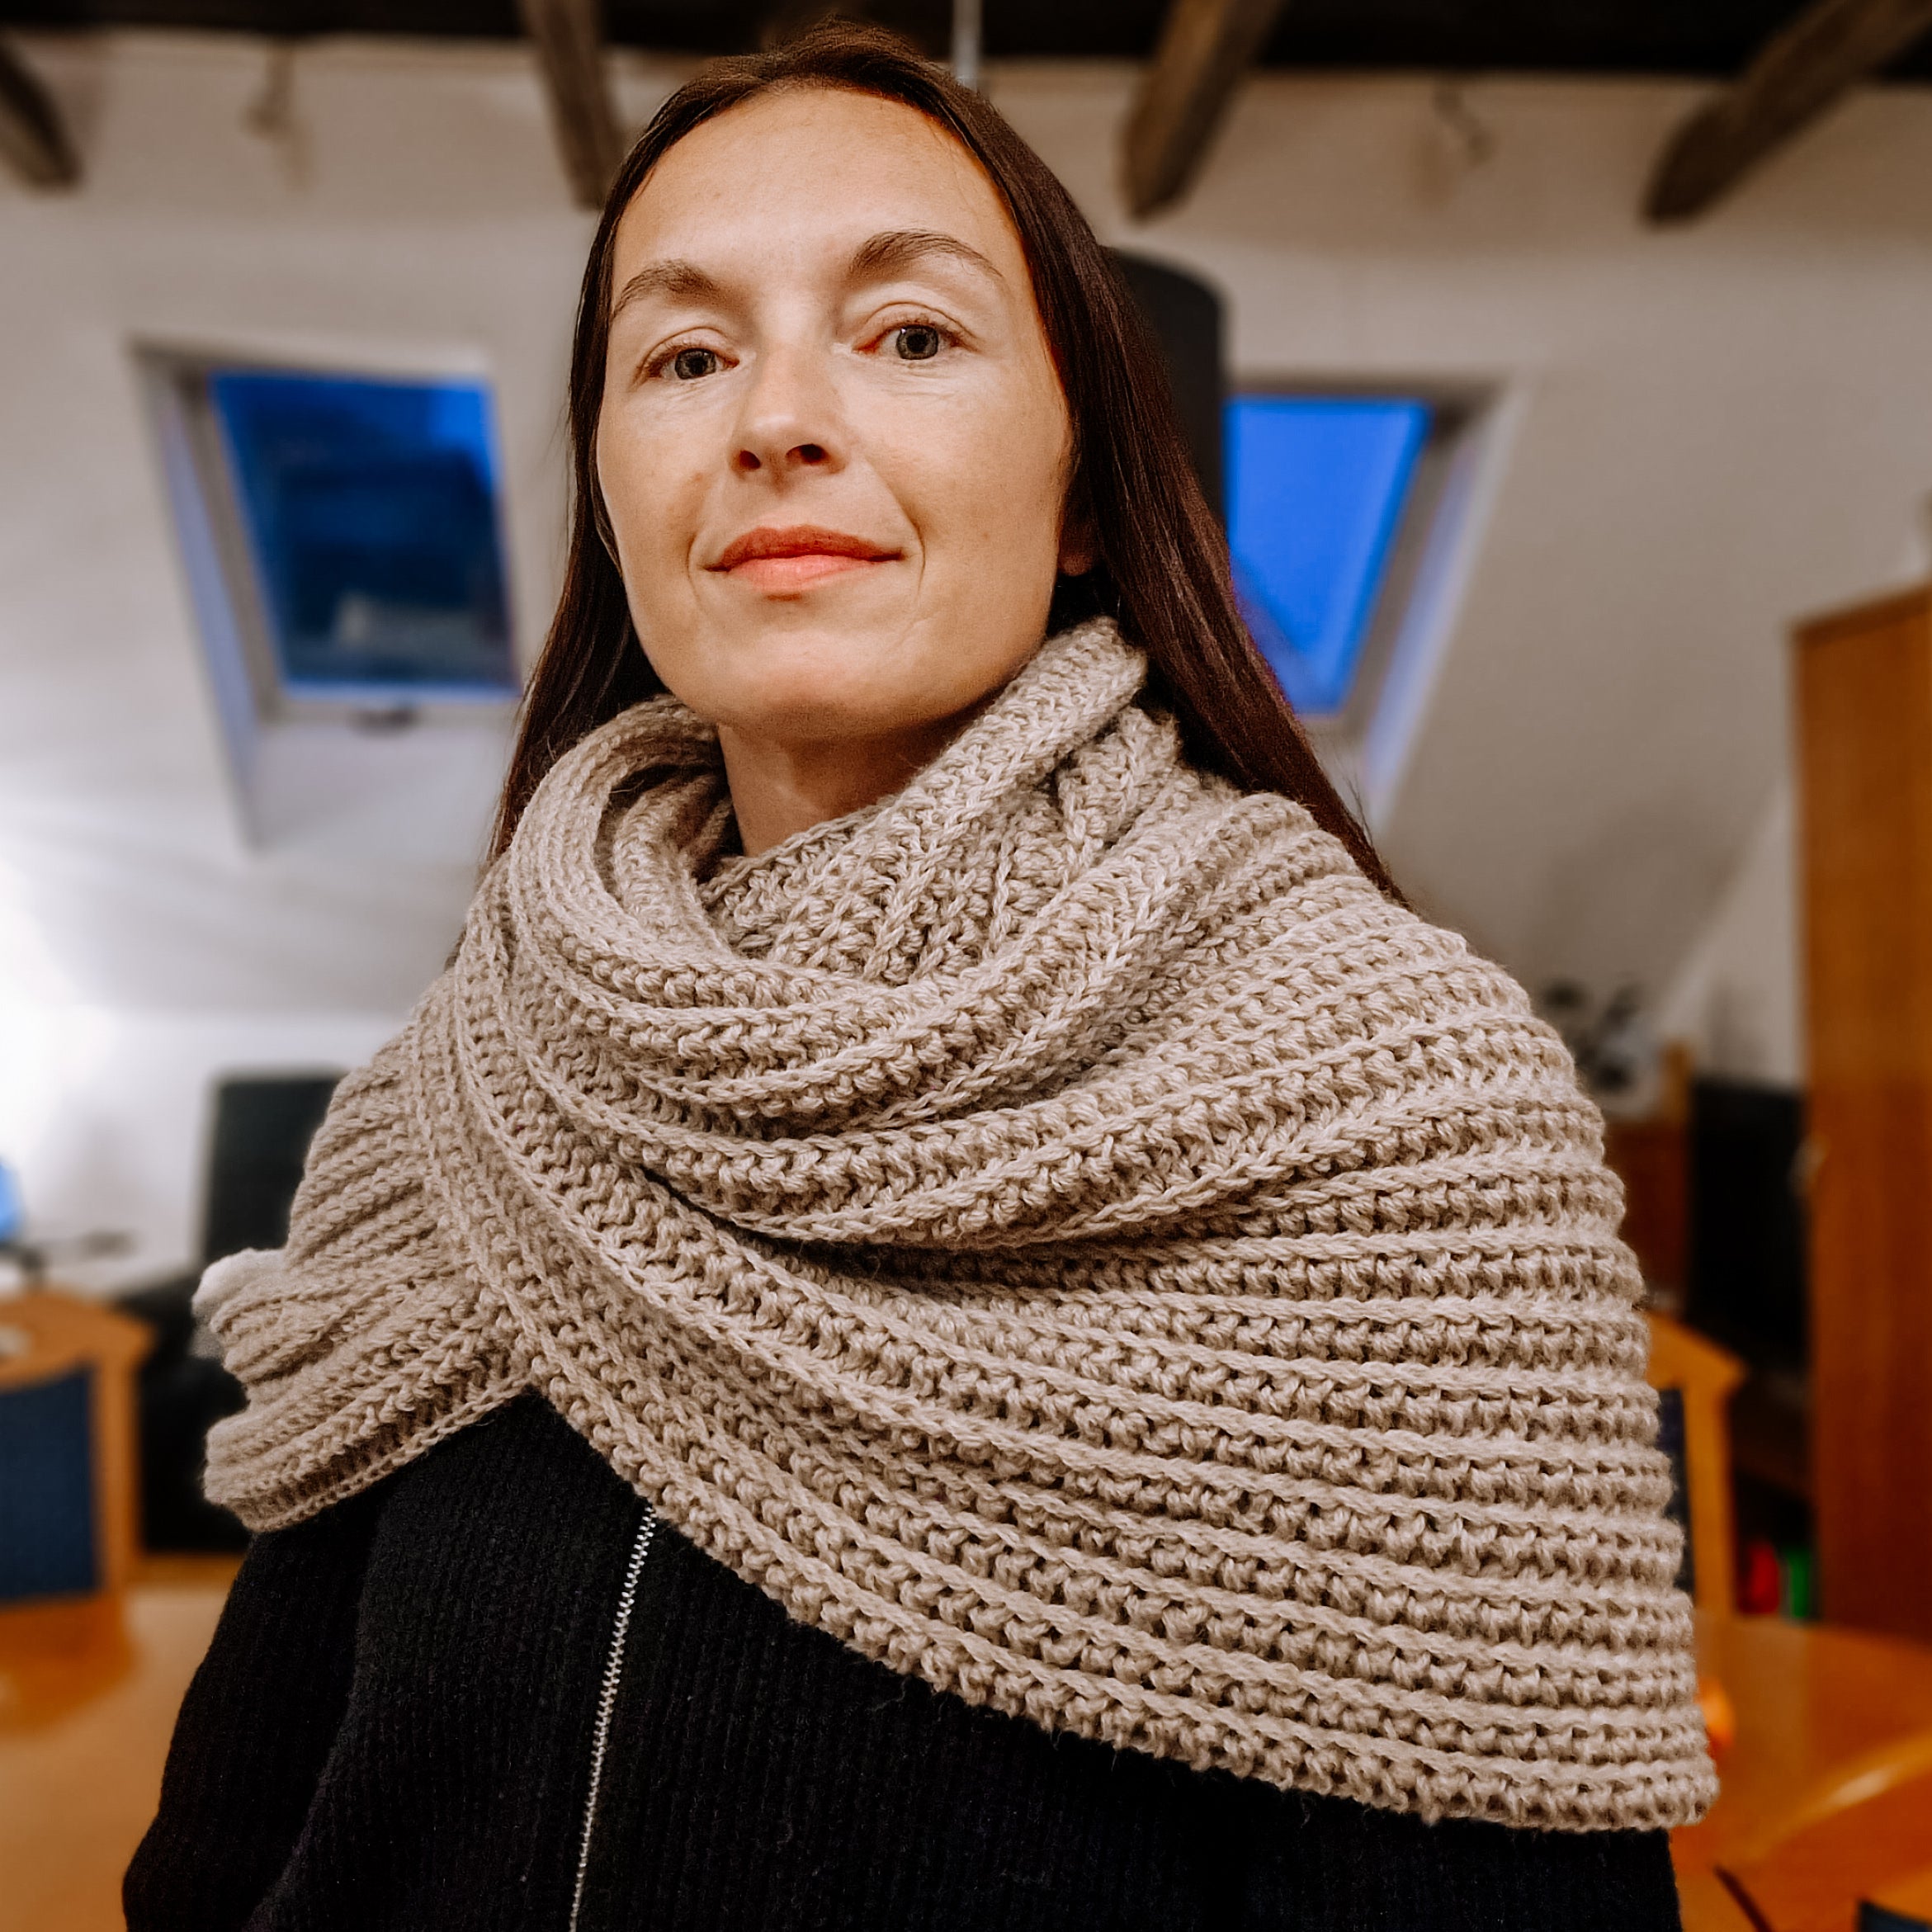
Create your own Alpine Stitch Hoodie with a cropped, oversized fit, balloon sleeves, ribbed edges, and a relaxed, roomy hood.

Yarn
This content contains affiliate links. I may earn a small commission at no extra cost to you. Read my full disclosure.

A: Omoiut Milk Cotton Yarn; 100% Cotton; Yarn Weight: Sport weight; Color: Black

B: Omoiut Milk Cotton Yarn; 100% Cotton; Yarn Weight: Sport weight; Color: Light Pink

This is the yarn I used, but because this is a made-to-measure pattern, you can work with any yarn. Yarn amounts will vary depending on your size.

  • 650 g (22.9 oz)
  • 1,560 m (1,706 yd)

Every stitch deserves the right yarn! 🧶 I’ve gathered some of the best yarns and tools in my Amazon shop. Come browse and see what sparks your creativity. 🤎

Materials

Yarn needle, scissors, measuring tape, and stitch markers.

Hook(s)

  • 3.5 mm

Use the hook size recommended for your yarn as a starting point. Make a swatch and try different hook sizes until you achieve a fabric you like.

Gauge

Not critical. This is a made-to-measure pattern, so you'll adjust the measurements based on your body.

Size Guide

You'll use your own body measurements to customize the fit.

Finished Measurements

This is a made-to-measure pattern. The instructions guide you through adjusting the sweater to fit your measurements.

Stitch Key (US terms)
  • ch/s = chain/s
  • dc = double crochet
  • dc blo = double crochet back loop only
  • dc flo = double crochet front loops only
  • fpdc = front post double crochet
  • hsc = herringbone single crochet
  • hsc blo = herringbone single crochet back loop only
  • RS = right side
  • sc = single crochet
  • slst = slip stitch
  • st/s = stitch/es
  • WS = wrong side
Specialty Stitch

Foundation double crochet

  • Step 1: Start with a slip knot, then chain 2. This ch 2 will act as the ch 2 you normally see at the beginning of rows of double crochet, it’s what gives you the height for the stitches, and in the case of the fdc, it acts as an anchor for your first stitch.
  • Step 2: Next, turn your work so that you are looking at the back bumps of your chains.  Yarn over, then insert your hook into the very first chain you made, and pull up a loop.
  • Step 3: Chain 1. This creates the bottom chain of your fdc.
  • Step 4: Next, yarn over and complete a double crochet as usual.
  • Step 5: ​​Yo, insert your hook under the bottom “V” of the ch 1 from the previous fdc, pull up a loop, and repeat Steps 3 and 4.

Repeat Step 5 for as many stitches as your pattern requires.

Herringbone single crochet (ribbing)

Begin with any number  of chains.

  • Row 1 (working in the back bumps of the chain): sc in the 2nd ch from the hook, insert the hook in the left leg of the sc just made and through the back bump of the next ch and pull up a loop, yo and pull through all three loops on the hook. Continue working herringbone single crochet (hsc) across.
  • Row 2: ch 1, turn. Sc blo in the 1st st, insert the hook into the left leg of the sc just made and through the back loop of the next st and pull up a loop, yo and pull through all three loops on the hook. Continue working herringbone single crochet through the back loop (hsc blo) across.

Repeat row 2 until you reach the desired size.

Alpine stitch (body)

Rows 1-3: Setting up alpine stitch.

Start alpine stitch with any odd number of stitches. 

  • Row 1: dc in the 3rd ch from the hook and across.
  • Row 2: ch 1, turn. Sc across.
  • Row 3: ch 2, turn. *fpdc (in 1st row of dcs here and across), dc*; repeat from * to * to the last 2 sts, dc 2.
  • Row 4: ch 1, turn. Sc across.
  • Row 5: ch 2, turn. *dc, fpdc*, repeat from * to * to the last st, dc.
  • Row 6: ch 1, turn. Sc across.

Repeat rows 3–6 to continue the pattern.

Notes
  • This pattern includes a full video tutorial linked on the front page for steps that are easier to show than tell.
  • You will start by making two panels (front and back) and two sleeves. Join the shoulders, then attach the sleeves. Next, sew the side seams of the body and sleeves. Work the ribbing at the hem. Finally, work the hood directly onto the neckline.

You might be wondering

Can I use a different yarn?

Yes, feel free to substitute. Refer to the Yarn, Materials, and Gauge sections for yarn weight and hook size. Any similar yarn should work as long as the gauge matches.

Is the design customizable?

Most patterns include customization options. Check the Notes section to see which parts can be adjusted.

Are sales final?

All pattern sales are final and nonrefundable due to the digital format. If there’s an issue with your files, contact me and I’ll fix it. Refunds are only considered in exceptional cases.

Accessories

Small but stylish